
Collecting Precious Family Memories – Intro – Scrapbook
Love making this Scrapbook as a gift for my Mother to share our favorite memories together. Check out how to make your own!
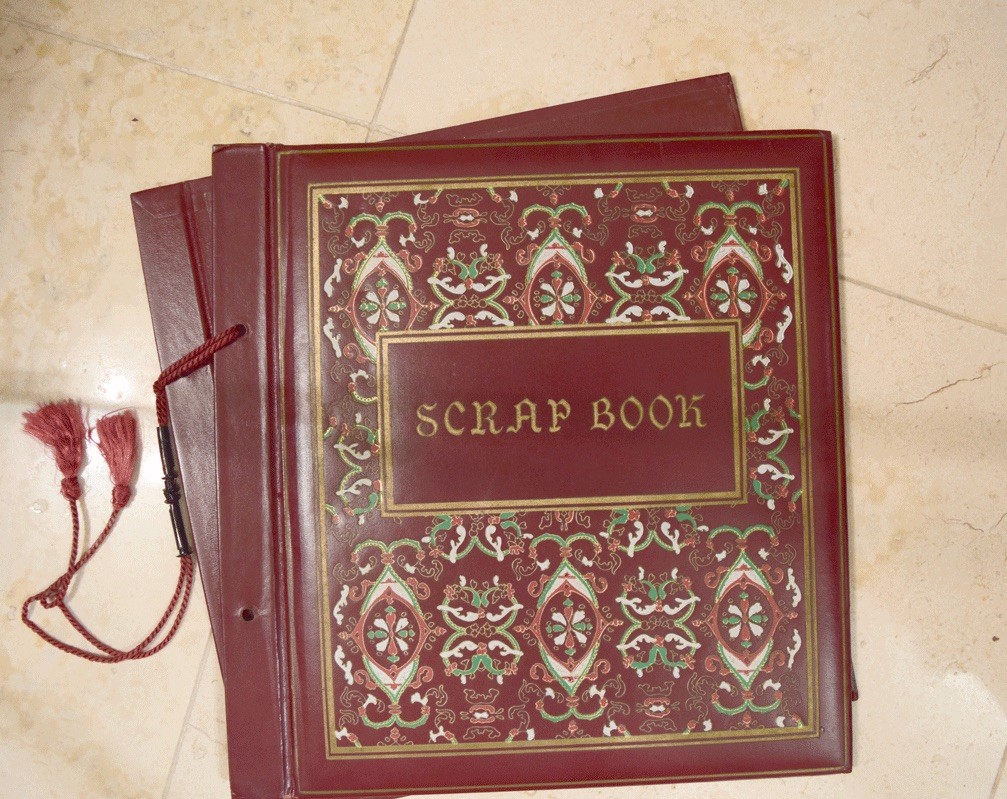
As the New Year begins, we understand that family is everything. After years of collecting and months of organizing, sorting, and reminiscing, the family history came to life with die cuts, shiny paper, and glittery photo corners. The actual scrapbook is over 40 years old, a present from my Aunt Loretta, circa 1967, and needed the edges of each page reinforced with sealing tape. The old scrapbooks were tooled leather and just lovely to hold. It was bound with shiny rope, so it easy to expand. The pictures themselves are mostly from the early 1900’s, probably the early Brownie cameras from Kodak. I looked them up and the original price was $1.00, which at that time was a lot. The photos held up incredibly well, in the proverbial shoe box. I trimmed the pages and put them in 12″ x 12″ plastic protector pages from Amazon.
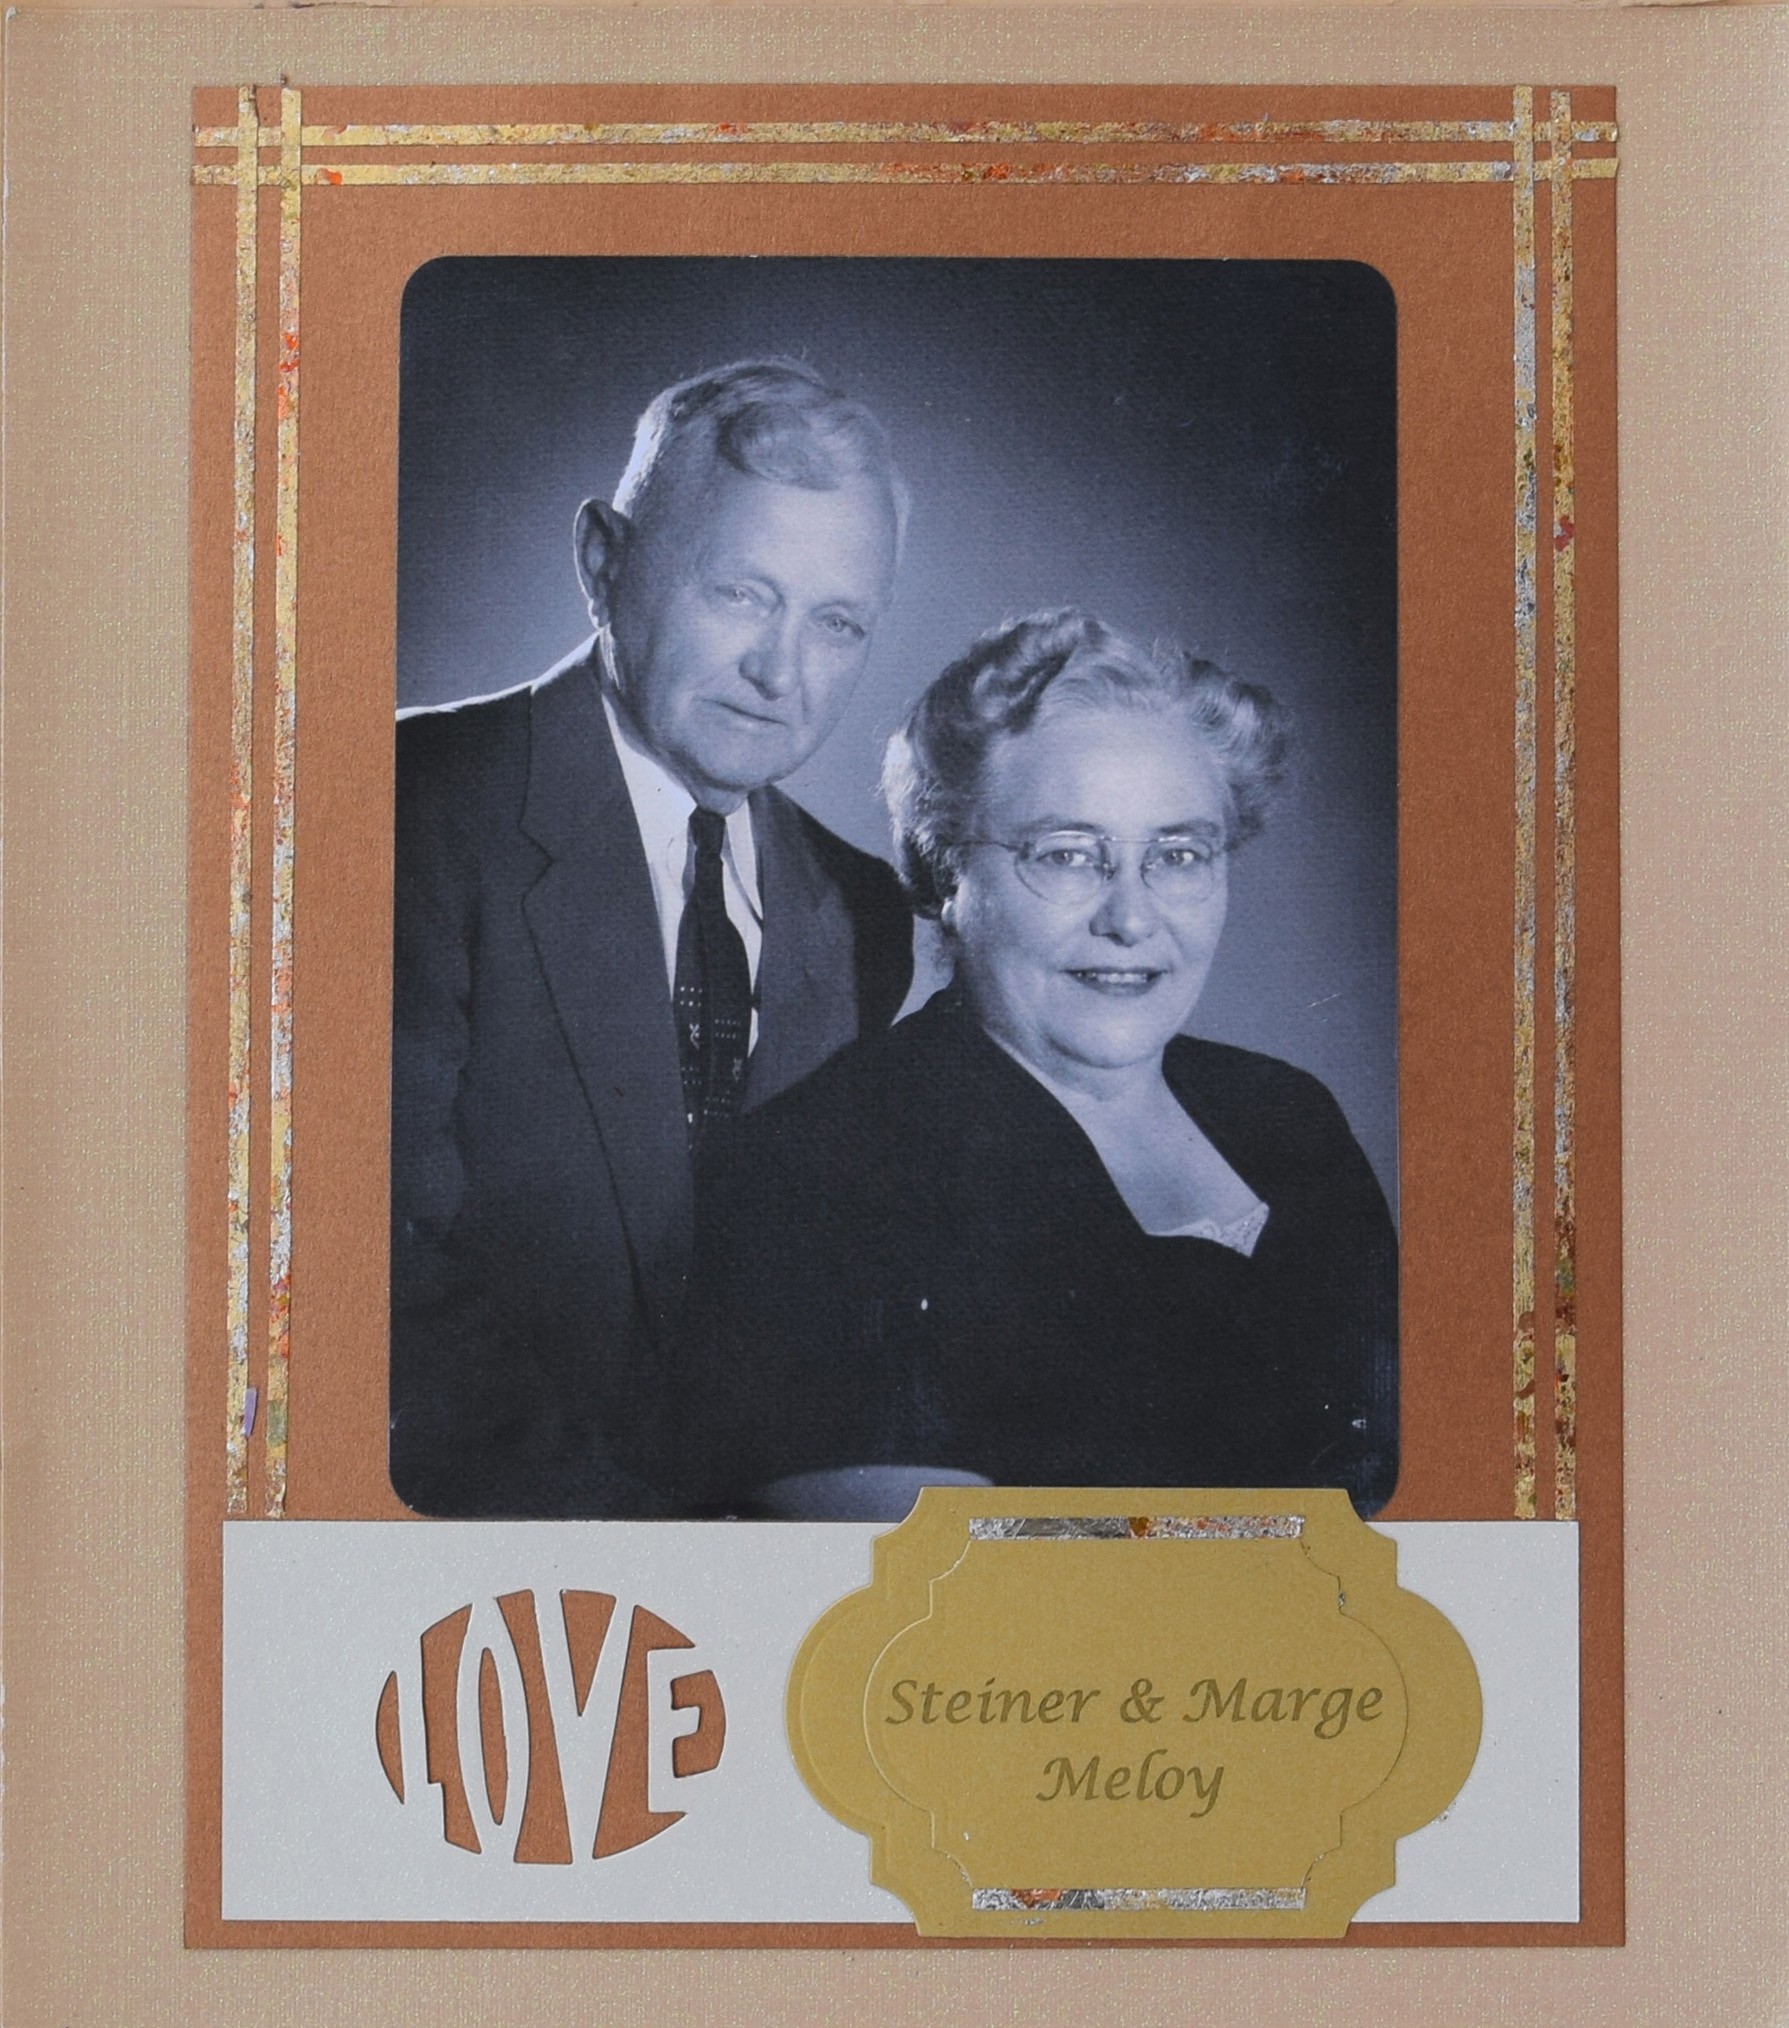
This was a Christmas present for my Mother, who wanted something to look back and hold. She was born in 1916 and these are her early years, up to and including her marriage to my Father, who has passed on.
There are only two brands of paper used: the 12″ x 12″ paper is Recollections, from different books, and single pages, all from Michael’s. Love those coupons. The 8.5-inch X 11-inch paper is all from Paper-Papers.com. I used mostly cardstock, printed on my inkjet. The text weight went through my laser, which requires a bend.
Some pages were embossed with a 8.5″ X 11″ embossing folder and a larger die cutting machine. If you don’t have one, I have heard you can use a rolling pin on the bigger folder: it is covered with photos, perfection not required. Or you can use a small folder and move it around. You can also cut the paper down the middle and emboss each side and use red liner tape and gilding flakes where it meets in the middle. It will look great no matter what your choice. Plain will look great, too. The paper itself is stunning.

All pictures and paper were put down with Red Liner Tape, off Amazon. Fast and easy. Where the designs were delicate, Cosmic Shimmer glue was added. If the design was particularly delicate I used spray adhesive and glue, always just dots here and there, especially on the embossed pages. These are mostly the early days and just personal memories. Love that old brownie. Wish I knew where it was. Just a great camera.
I will be posting pages gradually as this is a large project and I can’t wait to introduce you to the pages and their beautiful design and of course full of loving memories. …More to come in other posts tagged as: memory album
Items I used from Paper Papers: Stardream Metallic Copper Cover and FAV Shimmer: Pure Gold Cover and Hinted Gold Text
View complete material list: INSTRUCTIONS & MATERIAL LIST FOR PAGES 1&2
Materials for Scrapbook
- Stardream Metallic
- Copper Cover
- FAV Shimmer
- Pure Gold Cover
- Hinted Gold Text
About this author: If you would like to see more of my work, I am on Etsy.com: walkupdesigns. I would love the visit. My name is Susan from Arizona. I sew, do house repairs, drawing, colored pencil, taxes, accounting, and just started teaching the paper crafting classes at the local Michael’s Hobby Store. I use the Cheery Lynn and Memory and Cottage Cutz dies the most, the papers I have, that get used the most, are the shiny ones. Love, Love, Love the shimmer papers, and so do my students!


2 Comments