How Do You Make Paper Doll Chains?

How Do You Make Paper Doll Chains? A Beginner’s Guide
Paper doll chains, a delightful craft that evokes childhood nostalgia, are a fun and easy way to add charm to any occasion. Paper doll chains are a fun, easy, and nostalgic project that your kid can enjoy. Whether you are decorating for a party, creating a classroom activity, or learning “How do you make paper doll chains,” skill will bring joy for years to come.
So, how do you make paper doll chains? We will explore the step-by-step process and the materials you will need. Let’s get started.
What You Will Need
Before we get into the crafting process, let’s gather everything you will need:
- Paper: Construction paper is ideal due to its sturdiness and vibrant colors. You can also use printed paper, which can be a bit flimsier, or patterned or textured paper for extra flair. Cardstock offers durability.
- Scissors: Scissors for cutting; it’s better to use safety scissors with kids.
- Pencil or marker: This is for drawing your dolls’ outlines before cutting them.
- Ruler: A ruler can help you make straight edges for your folding.
- Decorative items: markers, crayons, or stickers to add extra personality to your dolls.
Step-By-Step Guide on How Do You Make Paper Doll Chains

Now that you have everything, it is time to start crafting. How do you make paper doll chains might seem simple at first glance, but the process can be refined to achieve different styles and effects. The basic principle involves folding paper and cutting out a doll shape, which, when unfolded, reveals a chain of connected figures.
Let’s break down the steps: “How do you make paper doll chains?”
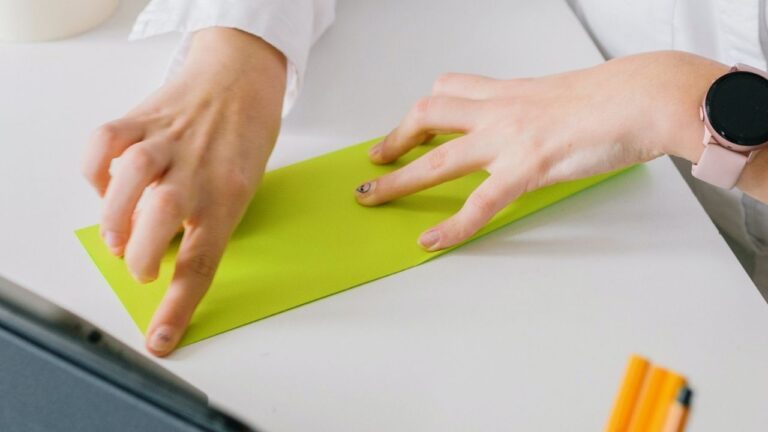
Fold Your Paper
Begin by folding your sheet of paper in half. If you are working with a larger piece of paper, you can fold it a couple of times, depending on how big or small you want your doll chain to be. For larger dolls, you can fold them into thirds, but the basic fold should be into two equal sections.
Folding is essential because it creates multiple dolls in one go. The more folds, the more dolls you can cut in one go, but too many folds can make cutting difficult.
Draw the Dolls
Use a pencil to outline your paper dolls on the folded edge of the paper. A paper doll is typically just a simple stick figure with arms, legs, and a head. However, you can make them as detailed as you like. You can get creative with the doll’s look, perhaps a traditional dress, a superhero outfit, or even an unconventional outfit with patterns.
Keep the arms and legs connected to each other at the edges of the paper to ensure that they stay attached when you cut them out.
Cut Out the Dolls
Carefully cut along the outline of the dolls, being cautious not to cut the paper all the way through at the fold. You will want to keep the fold intact so all the figures remain linked.
Once you have cut around the outline, unfold the paper, and there you have it! You will have a chain of paper dolls, all connected and ready to be decorated.
Decorate your Dolls
How do you make paper doll chains stand out? Decorate them! This is where the real fun begins. You can use markers, crayons, or watercolor paints to give each doll its personality. You can even add accessories like hats, dresses, or shoes. The sky’s the limit with creativity!
Assemble your Paper Doll Chain
Once your paper dolls are decorated and ready, it’s time to assemble them into chains. You can hang a paper doll in a doorway, on a wall, or even give it as a gift.
Conclusion
So, how do you make paper doll chains? It’s as easy as folding, cutting, and decorating. This simple craft is not only a fun project but also a meaningful way to show your creativity. So gather your materials, invite your friends, and start crafting your charming paper doll chains today!