
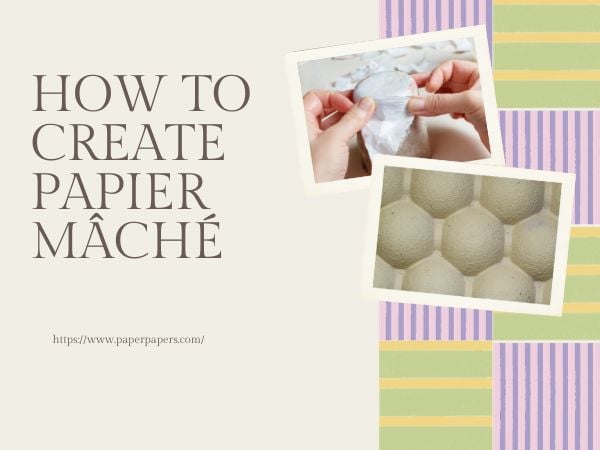
How to Create Papier Mache | 14 Quick Steps
Do you want to transform simple materials into stunning works of art? Papier mâché is a fantastic crafting technique that allows you to unleash your creativity. This method involves creating innovative crafts by deploying a mixture of paper and adhesive.
From simple DIY projects to convoluted sculptures, the possibilities with papier mache are endless. Whether you are a newbie or a seasoned artist, it allows you to bring your crafting ideas to life.
What is Papier Mache?
Before getting into how to make papier-mache, it’s important to understand the concept. Papier mache is a composite material that involves paper pieces bound with an adhesive. It serves as a building material to craft a variety of artistic works.

This fascinating product is employed in a variety of applications. For instance, papier mache masks are used in theater or costuming. The papier mache sculpture plays a vital role in fostering creativity, providing an accessible medium for artists to bring their imagination into reality.
Required Materials
To learn how to create papier mache, start by gathering the following materials for your creation.
- Bowl or large container
- Newspaper
- Flour
- Water
- Create the base form
- Paints and brushes
- Varnish or glue for a finishing touch
Step-By-Step Process Of How To Create Papier Mache
In this guide, we’ll walk you through the step-by-step process of how to create papier mache to hone your crafting skills. Let’s dive in!
1. Prepare Your Work Area
To begin with, set up a designated workspace. Lay down newspapers or a plastic tablecloth to protect surfaces from the sticky mixture.

2. Prepare the Papier Mâché Paste
As you go along with the process of how to create papier mache, first make the paste that aligns with your project needs. Here are the three options, along with a brief overview of each:
3. No-Cook Paste Recipe
This process is simple and quick. You may require flour, water, a bowl, and a whisk to get started. This recipe involves mixing flour and water until you achieve a paste-like consistency.
4. Cooked Paste Recipe
For a slightly stronger and smoother paste, opt for the cooked version. Heat a mixture of flour and water on the stove, stirring continuously until it thickens. Let it cool before use.
5. Resin-Papier Mache Paste Recipe
If you’re aiming for added durability and a hard finish, consider using a resin-based paste. This option will provide a robust final result. For that, you have to boil water and then add a flour mixture containing a resin glue power slowly.
Then, stir the mixture until it becomes smooth and clear. It is ideal for projects that may face a bit more wear and tear.
6. Blend Your Choice of Mixture
Mix your preferred combination using a paintbrush or stirring stick. Continue blending until it reaches a smooth consistency. If it’s too thin or thick, make adjustments as needed. Add more adhesive base for thinness or water for thickness.
7. Create the Base Form
Choose an object or shape to showcase your papier mache art. You can employ materials like balloons, cardboard, or wire to form the base structure. For instance, if you select a balloon as your base structure, inflate it to the desired size and shape it accordingly.
8. Tear Newspaper into long Strips
In this step, rip the newspaper into long strips about 1-2 inches wide. Don’t opt for the scissors for cutting because a torn edge blends more seamlessly than a cut edge, providing a smoother finish. Each crafting project may require different sizes or shapes, so the length of the strips may vary accordingly.
9. Dip the Newspaper into the Paste
To ensure thorough saturation, immerse each piece of newspaper individually into the papier mache paste. Remove the excess paste by running the strip between your fingers.
10. Apply The Strips to The Base Form
In this step, apply the newspaper strips to the base form you have selected. You must ensure that they overlap for strength and run in different directions. Cover the entire structure with a single layer first and let it dry completely. It may usually take 24 hours.
11. Repeat the Process for a Sturdy Look
After the first layer is dried, repeat the process. Add a bunch of layers to enhance strength and durability. Aim for at least three to four layers, allowing each layer to dry before applying the next.
The more layers you add, the sturdier your papier maché creation will be. It can create texture, volume, and detail pretty conveniently.
12. Shape and Sculpt
Once the layers are dry, you can shape and sculpt your creation further. Sandpaper can help smooth out any rough edges or uneven surfaces.
13. Paint and Decorate
An exciting step in how to create papier mache is painting and decorating your project to express your artistic vision. For that, acrylic paints work well, and you can add intricate details for an aesthetic look.
14. Seal the Surface
Papier mâché lacks inherent water-resistant properties unless treated with a sealant or additive. If your creation is intended for outdoor or water use, it is significant to finish it with suitable sealants.
So, you may apply a layer of varnish or a mixture of glue and water to safeguard your artwork and give it a polished finish. This step also helps prevent moisture from affecting the papier mache.
Conclusion
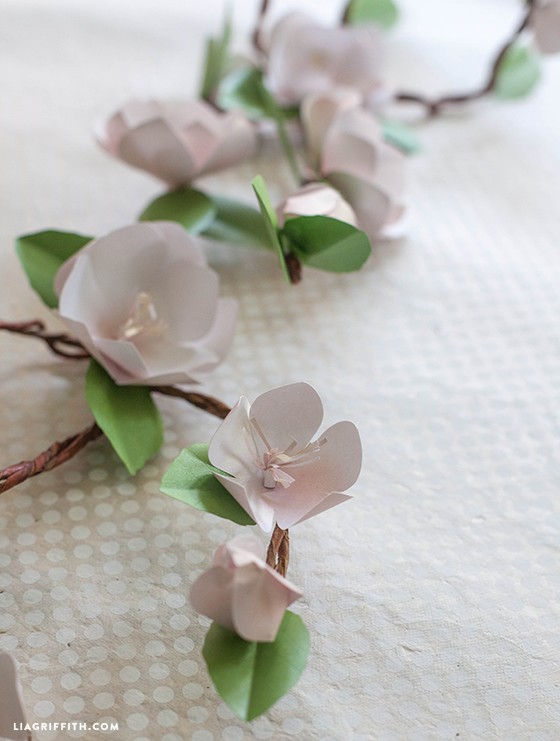
In short, papier mâché stands as a versatile artistic medium used for crafting intricate sculptures. Exploring how to create papier mache allows artists to foster their creativity. To select the right type of paper for your crafting project, connect with PaperPapers.
We are a leading provider of a range of paper products, ensuring you have the right quality and texture for your artistic endeavors. Whether you’re looking for specific colors, weights, or finishes, PaperPapers can offer a variety of choices to enhance your papier mache creations.


One Comment