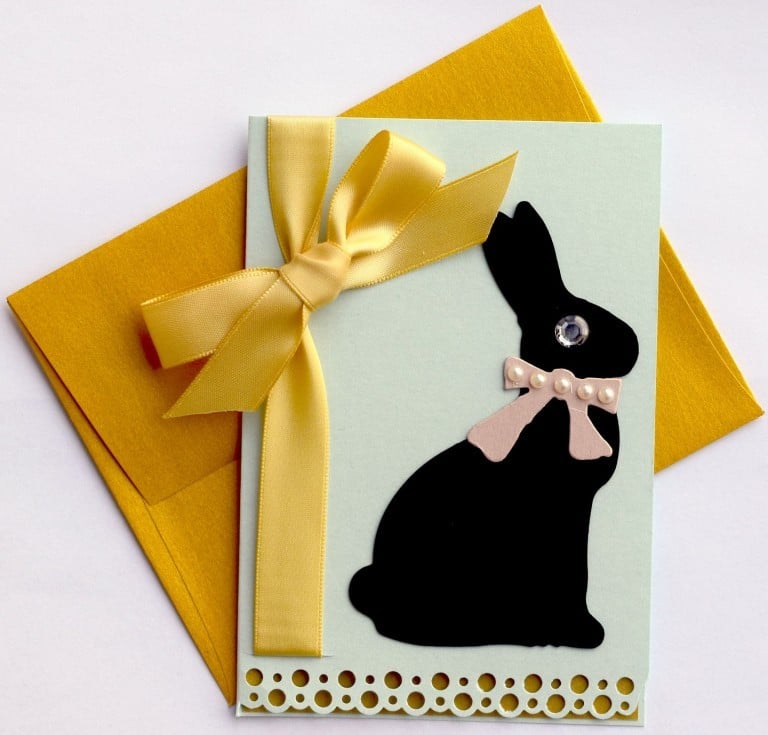
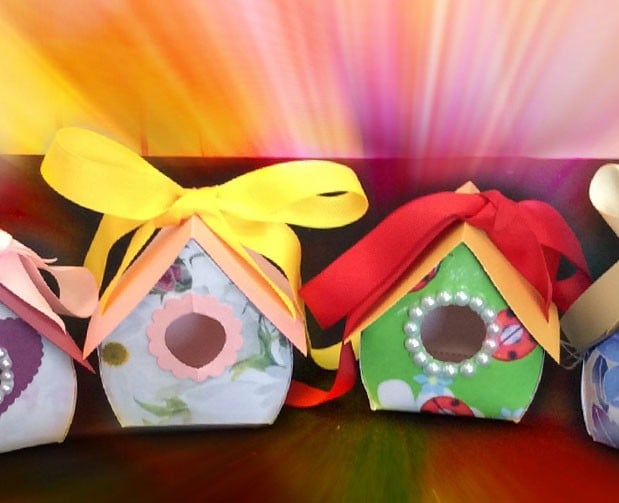
Black, Red, & White All Over Shaker Card

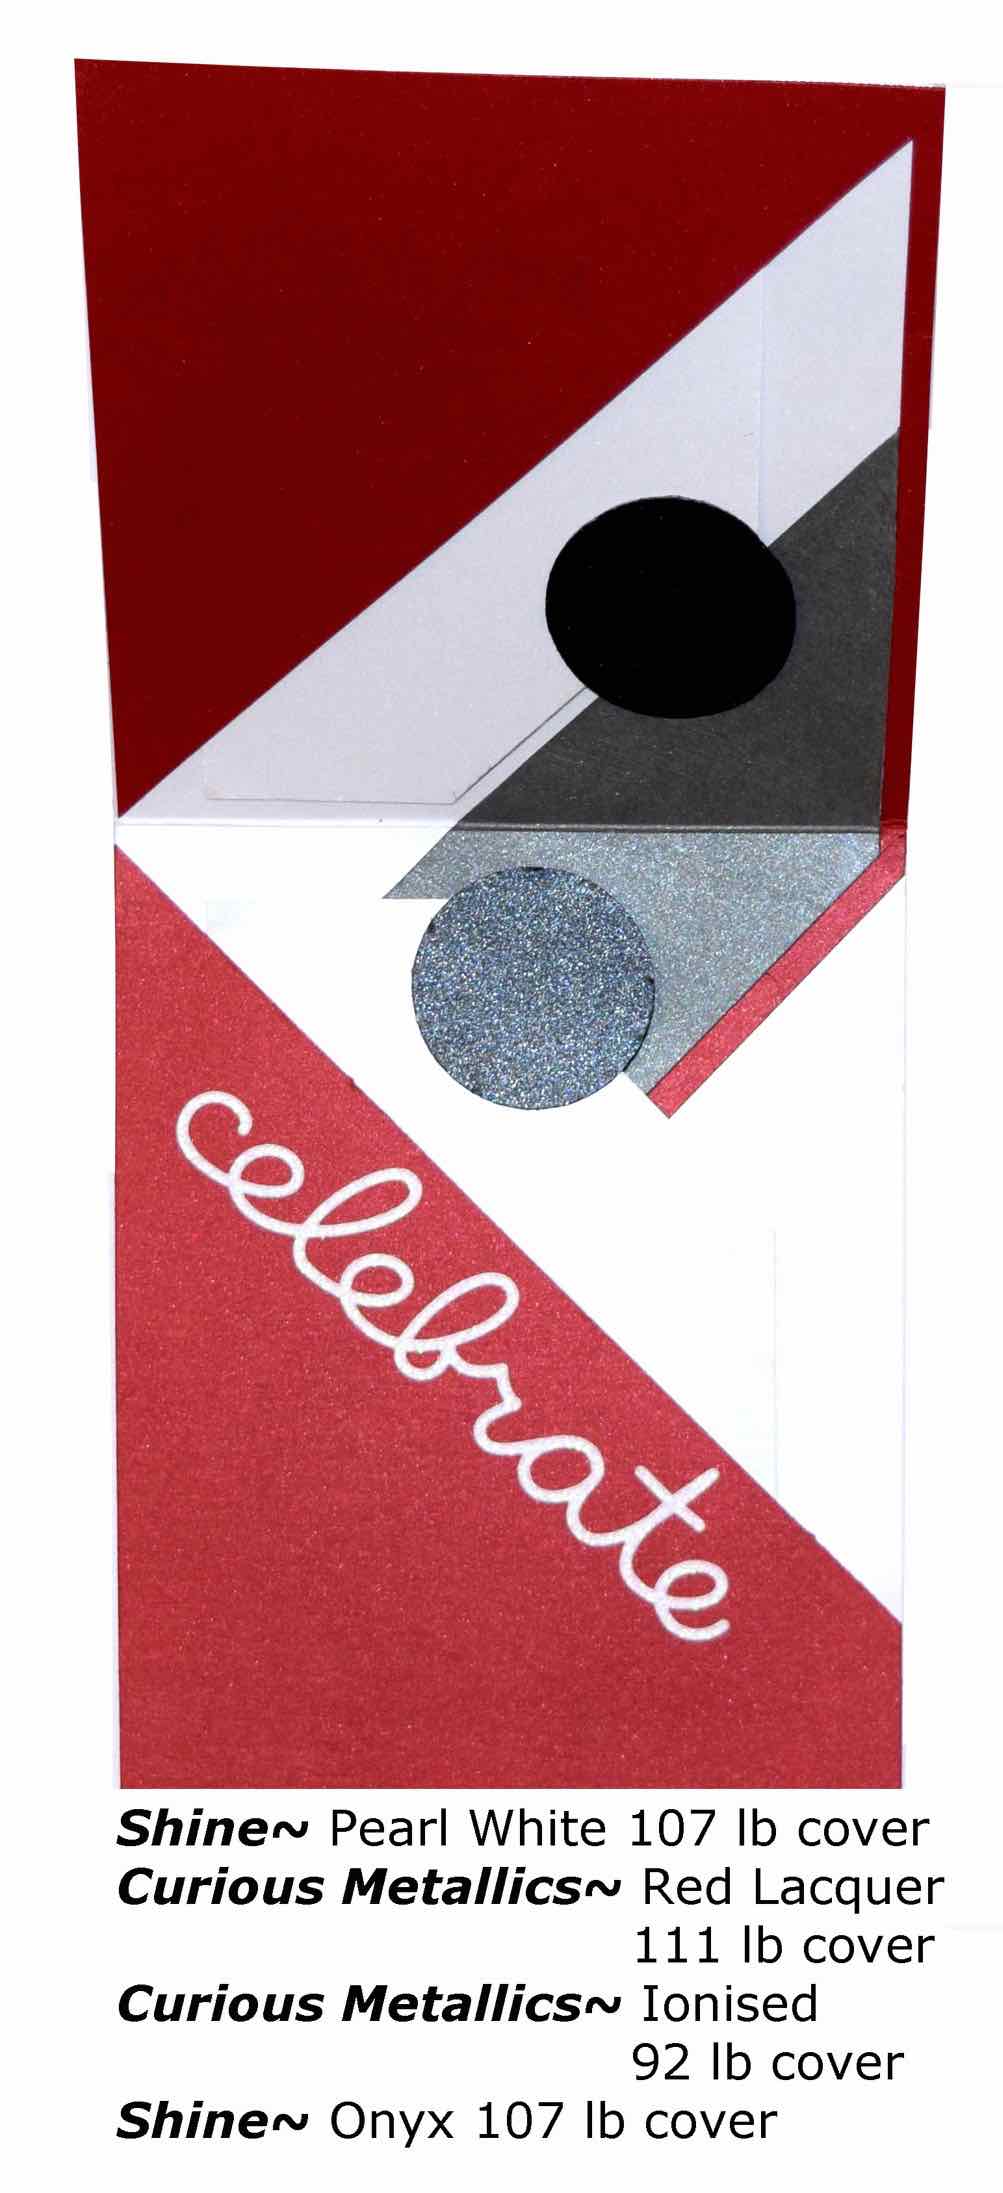
Reds make fun cards, starting with a Cherry A7 envelope. The shaker card is thin enough to fit into this envelope. For the card, please refer to the photos. The base of the shaker card is Pearl White; it is sturdy enough to hold the embellishments on the front flap and still keep its shape. Make sure to check out how to make this Black, Red, & White All Over Shaker Card.
Cut the Pearl to 4.75″x 11″, score and fold it at 6″, leaving the front shorter. Complete the inside first. Cut the Red Lacquer, at 5″x 6″; cut it on the diagonal to make 2 triangles. Cut the triangle for the shorter flap to 5″ long. Using ScorTape, make the triangles into pockets by using 1/2″ ScorTape on the bottoms and sides, leaving the diagonal side open, so you can add tags. For the stripe across the back, use some scrap Ionised 2″ wide, and tape down. If you want, add a little 1/8″ Red Lacquer outline, using 1/8″ tape. The smaller tag is 3.25″ x 4.25″ and the bottom tag is 3.5″ x 5″. Put the small tag in the top pocket, use a ruler to mark where it crosses the Ionised stripe, and cut it 1/8″ lower at the same angle. Place that piece on the bottom tag so the angles match, and cut. Add some 1.5″ circles in Onyx. That wording is Glitz & Glitter, but any will do.
Now that the inside is done, make the shaker card. Referring to the photo, that is a scrap piece of packaging that is about 1/4″ thick, 3 3/8″ x 4 1/4″, and has a small 1/4″ flat border to attach to the card. Outline the opening so that it is centered on the card. Using the pencil lines, glue on the background made from flower and leaf findings. The bottom has a border of punched butterflies: refer to the round photo. I might have left the red bow off, but the plastic had a packaging hole there. However, it was the right size for a shaker card, so I used ScorTape on the front and back, put in a small pin hole, and pushed a single piece of ribbon through the front, pushed it onto the tape on the inside, and then tied a fake bow on the front. Using ScorTape, cover the parts of the card not covered by plastic, adding some under the edge of the plastic, and glue 3 sides down onto the tape. Leave the very top open and the backing on the top piece of ScorTape so the glitter won’t stick to it, and pour some glitter in. Pull the backing on the top piece of the ScorTape and glue the top edge down. The red outline is where the glitter stuck to the glue; a bonus. Use more 1/2″ScoreTape on the back of white, 1/2″, ribbon, to keep it from unraveling and use it to cover the edges of the plastic.

The Crush papers are made by Favini and are 30% recycled and 15% organic. The Cherry is made from real cherry by-products giving them a yummy color, using an eco-friendly manufacturing process. There are papers to match the envelopes. A great contrast is the Shine papers, which are recyclable, biodegradable, acid-free, and elemental chlorine free. The manufacturer’s website says the surface is compatible with laser and inkjet and also made to shine through most printing inks. It is manufactured without any metals or foils. Curious Metallics have a luminescent sheen on both sides of the sheet. They are FSC certified with excellent lightfast properties. They are manufactured under Mohawk, by Arjowiggins, and their website offers printing suggestions. Printing a sample of the shiny papers first is always a good idea. Both sides of the paper are colored so you can repurpose the sample. Best toy present ever. Enjoy!
The products that were used in this craft are the following:
- Crush
- Cherry, A7 envelope
- Shine
- Pearl White, 107 lb cover
- Onyx, 107 lb cover
- Curious Metallic
- Ionised, 92 lb cover
- Red Lacquer, 111 lb cover