Explained – How To Make Your Own Paper Christmas Ornaments

When the holidays roll around, it can be costly and time-consuming to decorate your tree. This may seem like a daunting task, but you can easily have it looking festive on a budget. If you get a little creative and put together some paper Christmas ornaments for your tree, you’ll have something beautiful and merry that you made yourself.
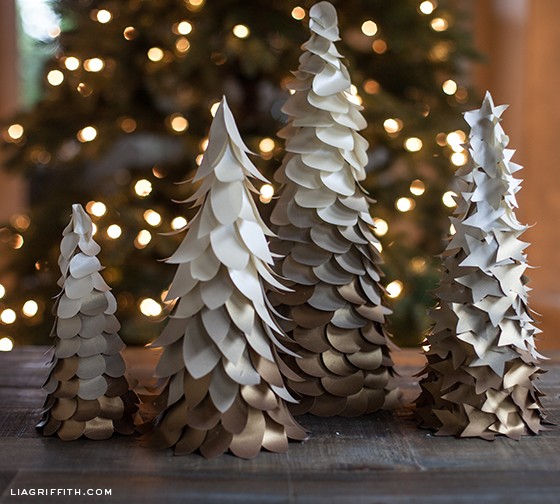
Making your own old fashioned paper Christmas decorations is a fun way to add a personal touch to your holiday decor.
You can make these ornaments from any color or pattern of cardstock. In this article, we’ll walk you through how to make paper ornaments step by step. We’ll also show you some examples that you can use for inspiration.
Materials needed for Christmas Ornaments
- Paper Ornament Templates
- Medium-weight to heavy-weight cardstock
- Ribbon, yarn, or string
- Scissors or cutting machine
- Flexible glue or Mod Podge
- Paintbrush or sponge brush with a flat edge
Make some templates for paper Christmas ornaments
The first step is to create the template for your paper Christmas tree ornaments. You can find templates online, or you can produce your own by printing out a pattern and tracing it onto cardstock. If you’re creating your own pattern, be sure that the design is simple enough that you can cut it out with scissors.
You’ll also want to choose a medium-to-heavy-weight cardstock so that the ornament doesn’t tear easily when you cut it out.
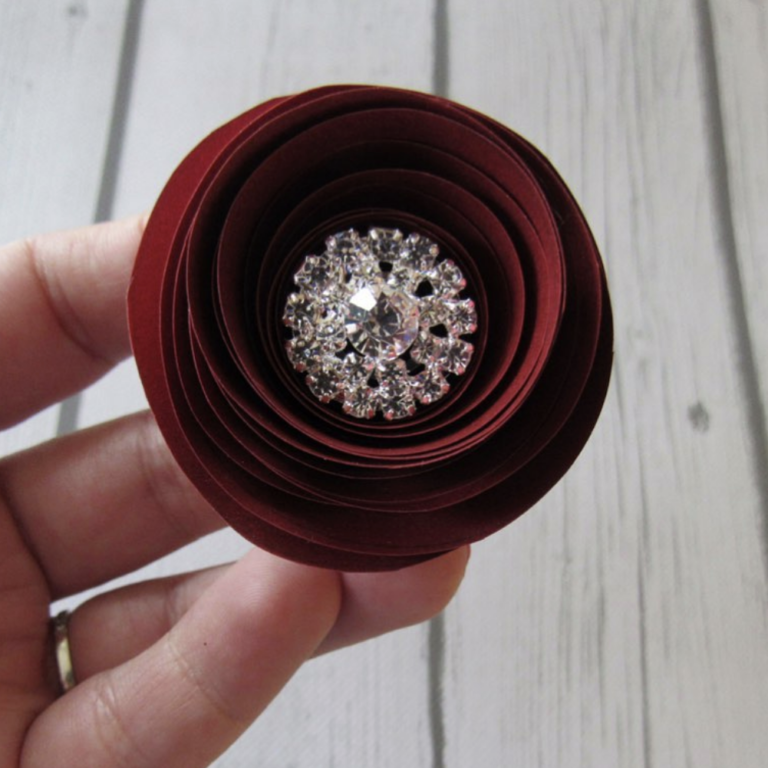
There are tons of aesthetic options for cardstock, from neon to argyle. If you want your paper Christmas ornaments to be extra fancy, consider using metallic paper! Decide which color or pattern will best suit your project. Customize your paper Christmas ornaments diy however you wish!
Start cutting your shapes
Cut out 18 pieces from your template. You can do this by hand, with a craft knife, or with a cutting machine. If you’re using paper that has a repeating pattern, you may want to leave it as is; if not, consider adding some glitter to the edges with Mod Podge or glue.
You can get as creative as you wish with stickers, paint, and other colorful or eye-catching additions.
Glue the pieces together
- Start by taking a thin line of glue and placing it on the straight edge of your shape. Make sure to keep the glue straight and perpendicular to that edge, and don’t spread it anywhere else. Leaving a little bit of space at the start and end will prevent you from getting glue on your fingers as well as prevent it from leaking out.
- Stack the next shape on top of the glued piece, being sure to align all the edges. To adhere your pieces to each other, put a dab of glue in the middle of the two lines you created.
- Repeat this process until all of your shapes have been included in the stack.
- Make sure that all of your shapes are held together tightly before you start gluing. Use the flat edge of a paintbrush or sponge to apply glue along the straight edge of the stack.
- While the glue is still tacky, attach your ribbon, yarn, or string. Let the glue dry completely before you move on to the next step.
See your completed paper ornament
Once the glue is dry, you’re ready to open up your work. To form your ornament, open up the 2 sides of the paper to meet on the opposite side. Tuck the ribbon in the middle as you create the 3D shape.
Match the two opposite sides and glue them together.
Last but not least, admire your intricate new paper Christmas tree ornament!