Bubblicious Birthday Card – Craft Your Perfect Celebration

Made with a Bubblegum and Razzle Berry floral and leafy center this handmade card is a perfect thing to send to your friends and love ones. This birthday card is made with a lot of love with this big card and sent in a metallic Opal 7in square card. The contrast between the shiny Opal paper and the matte Speckletone is half the design.
Instructions for Birthday Card
To make the card you need to have a sheet of Opal and Old Green cut down to 6 3/4 in. x 10 1/8 in. Both of these scored 6 3/4 in. down from the top of the sheet so that the excess of the sheet will come together so you can put the Bubblegum and Razzle Berry floral circular design in the center between the two sheets.
The one thing to watch out for is to make sure that both pieces barely touch so that the circular design can go between the two. Once you get the two sheets cut and scored Scoretape the two sheets together with the Old Green showing on top in the middle section.

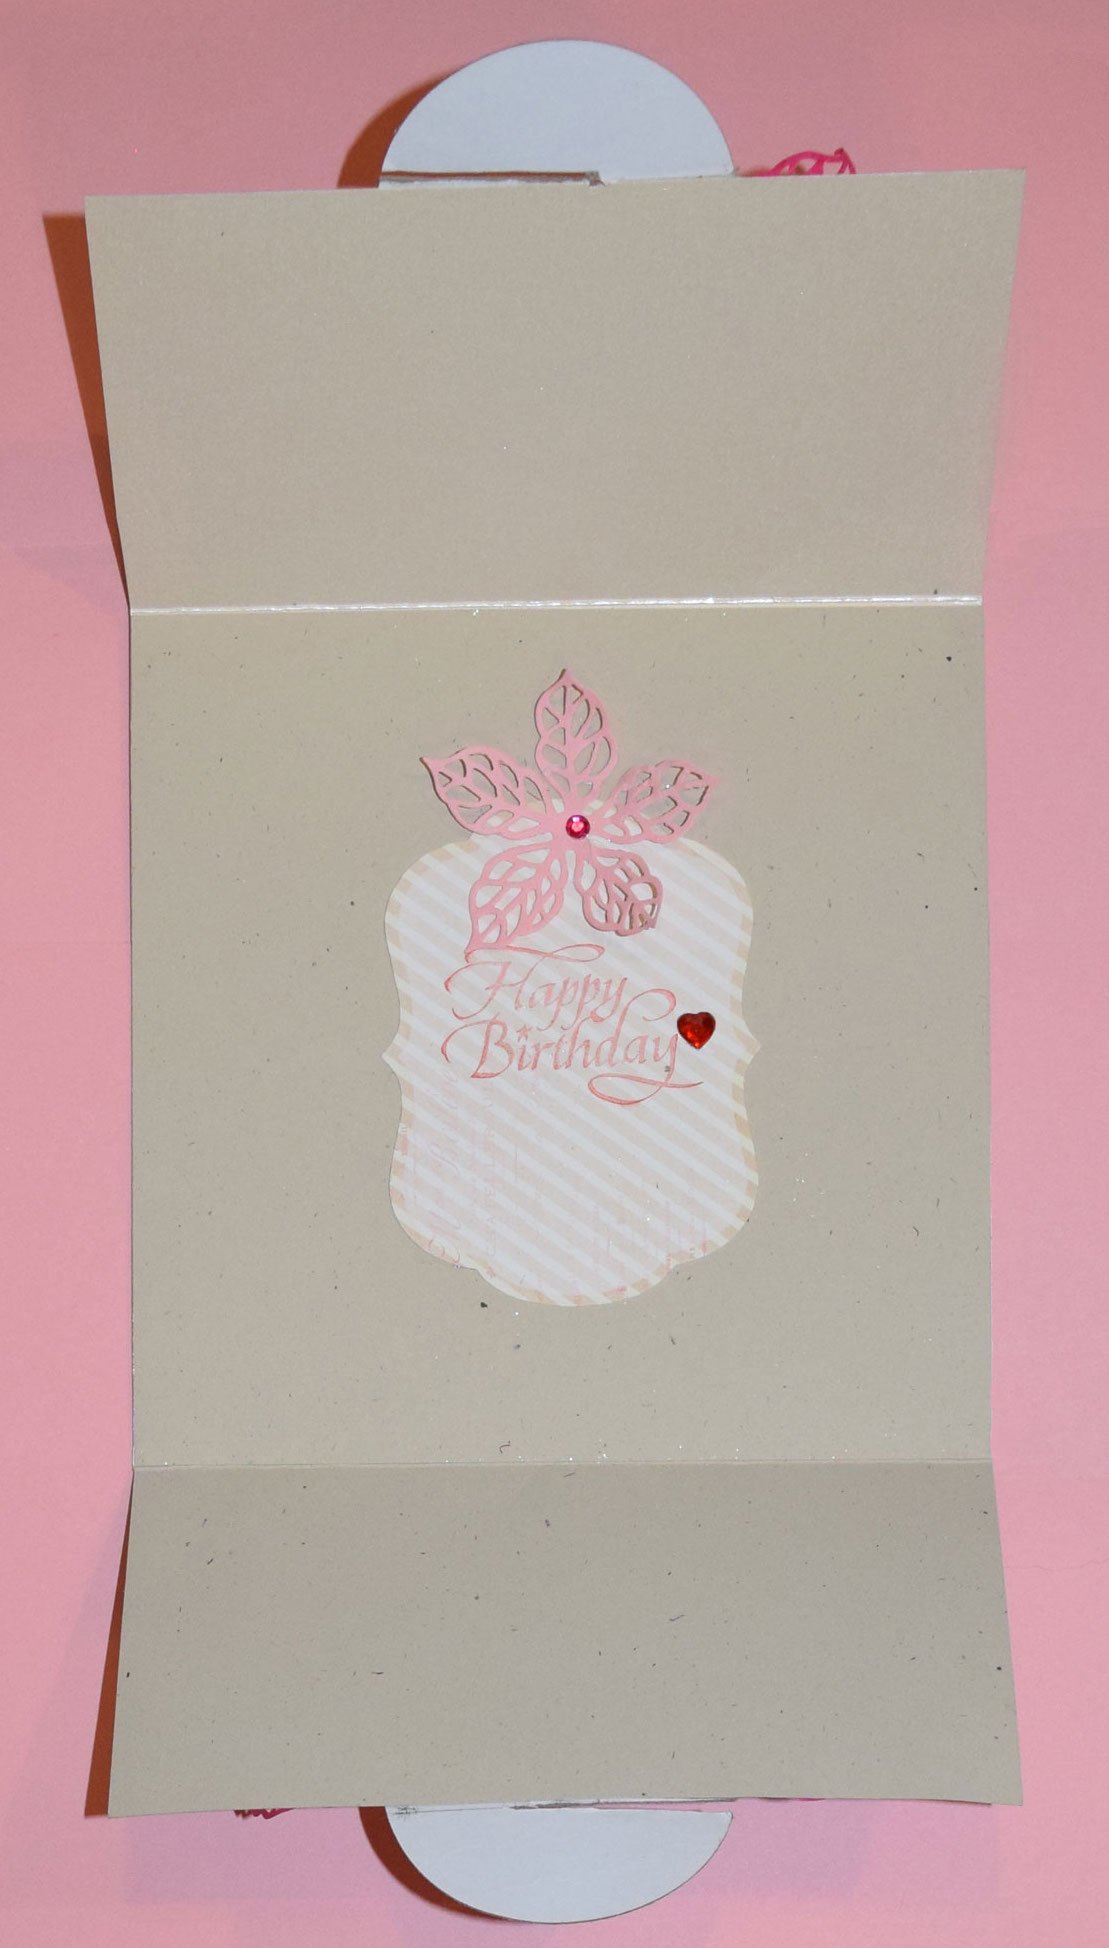
So for the inside of the card, you can either make a precut label or design something else but once you get it posted on the card stamp it with a Happy Birthday with red ink.
Using Sue Wilson’s Mosaic Poinsettia dies, make 4 flowers, 2 in Bubblegum and 2 in Razzle Berry. Cut them open and spread them around the circle. If you don’t have the dies, any 1.5″ flower petal die or punch will work.
To do the clasp on the card, start with two glitter circles 2.5″ in diameter and cross them so they are off center, this one is 5/8″ down the circle. Cut across half the circle and cut across the other half of the other circle, a smidge past halfway.
Cut them one at a time using pencil lines as a guide. Using Tim Holtz scissors, make the cut a little wider for ease of use. Put them together and lay them on the front of the card and using a pencil, lightly outline the glitter circles. Take Silhouette Double Sided Adhesive sheet and cut a 2.5″ die cut circle and cut that circle in half.

It is a little smaller than the glitter clasp, so use some ScorTape to fill in almost to the bottom. Remove the top sheet of the adhesive tape and lay the petals around the perimeter, in a pleasing fashion, on top of the ScorTape.
Put the glitter clasp together and lay the two intertwined glitter circles down as a whole, carefully. You are pretty much done.
Add some faux pearls and two red glitter dots. I added glue to the back of the bling and since I always make a bit of mess with the glue I sprinkled some glitter to match the circles and brushed off the excess. When the glue dries a bit, open the card; add the flower and the red bling to the inside.
Enjoy!
Materials for Birthday Card
- Stardream Metallics
- Opal 7 inch square envelopes
- Opal 105 lb Cover Weight Paper
- Speckletone
- Old Green 80 lb Cover Weight Paper
- Poptone
- Bubblegum 70 lb Text Weight Paper
- Razzle Berry 70 lb Text Weight Paper
- Glitter circles, 2.5″
- 2.5″ circle die
- Sue Wilson, Mosaic Poinsettia Die
- Silhouette Double Sided Adhesive Sheet
- Cosmic Shimmer Acrylic Glue
- ScorTape, 1/2″
- Precut Label with matching design
- Inkadinkado, Happy Birthday Stamp
- Word Stamp & Black Stazon Ink