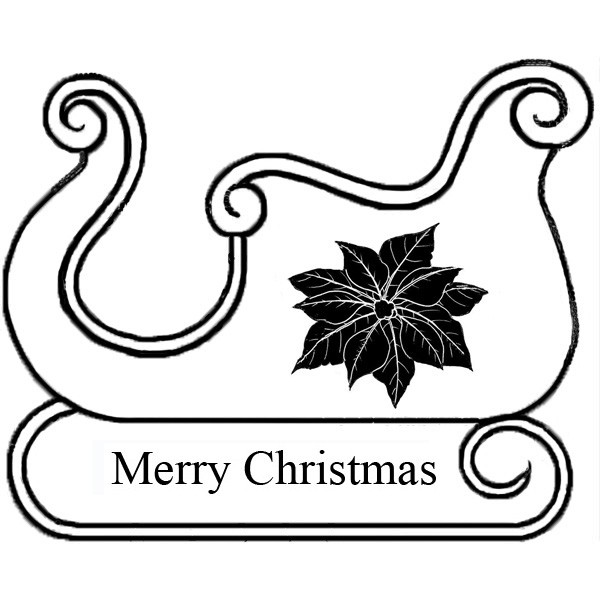
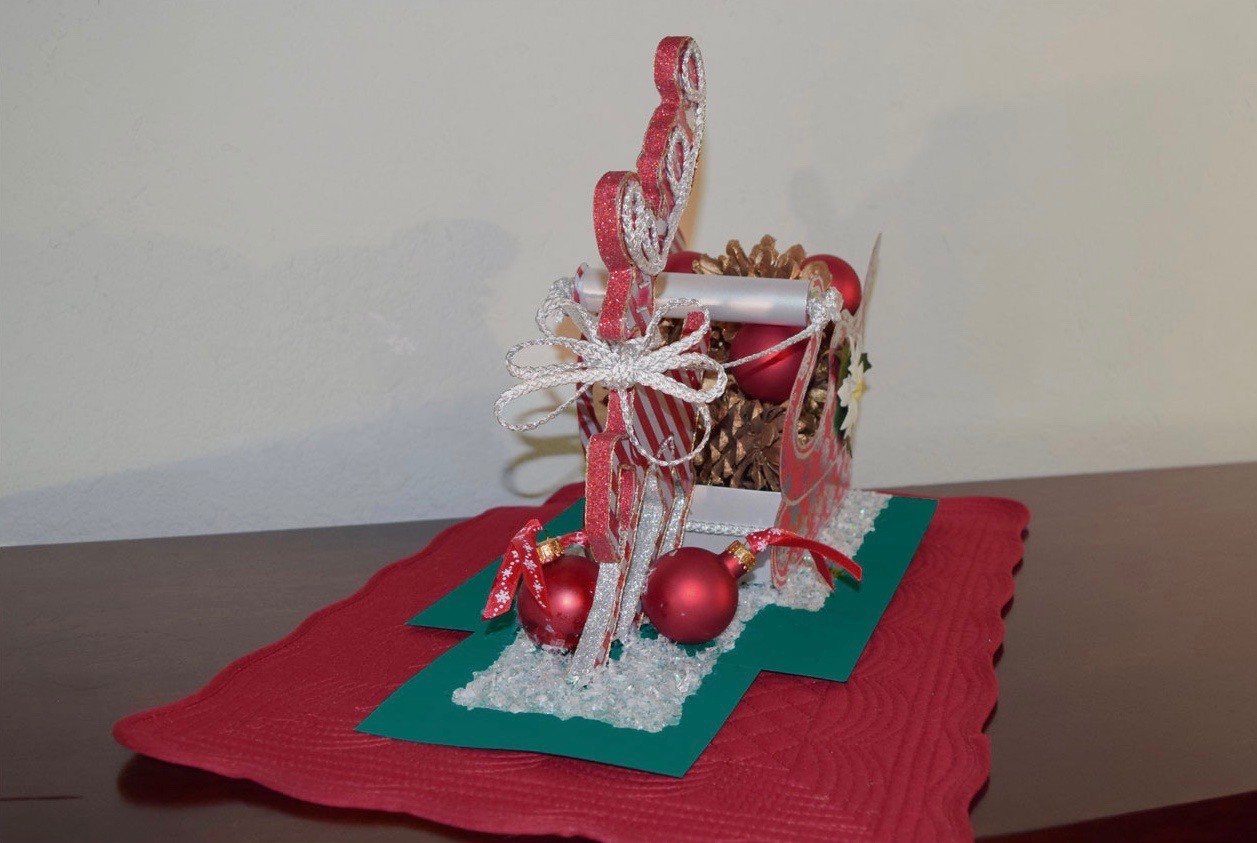
Festive Reindeer and Sleigh Paper Project

Ho, Ho, Ho, and it’s off to Christmas we go. Something bold for the biggest Holiday of the season, the sleigh, and reindeer filled with gold-sprayed pinecones. This is a dashing centerpiece that can bring joy to any gathering.
This project is a little time consuming, but worthy since it is a keeper. If you don’t have a foiling machine, there are many other ways to decorate the papers.
Go hard, or go quick and fast, the secret is in the outlines and the final presentation. There are other ways to get decorations on the paper include laser printing, 1/4″ glitter craft tape, stamping with Tim Holtz’s Perfect Pearls and any other personal choice for applying the design.
Festive Reindeer and Sleigh Paper Project
First, use copy paper to print out each of the 4 pieces of reindeer and sleigh: both have a back and front; a right and left side: note the mirror images. Hand cut out those shapes, they are outlines for hand cutting out the cardboard and paper.
The base for the reindeer is sturdy cardboard from any packing box about 1/4″ thick; no creases. Tape the copy paper shapes on the cardboard and using scissors and in some places, an Exacto blade, cut out the reindeer, using a general outline around the antlers, check out the final project.
Next, foil your paper. Referring to the photos, choose the appropriate design and foil both sides of Stardream Metallics, Jupiter, 105 lb cover, for the sleigh. Note that the paper is double sided and colored all the way through which means you only need a single sheet to design both sides. The foils are holographic gold, and silver, light green, red, and white. The Shine is laser printable since that is required for foiling.
As a reminder, use the darkest black laser settings and the hottest laminator setting. Once you have foiled both sides, the rest is just cutting out, assembling and arranging.
The sleigh itself is just a silver box made from FAV Shimmer, Pure Silver, 92 lb cover. Finished it is 4″x6″ and 2″ high, which means you start with paper 8″x10″ and score it on all sides 2″ in. Snip the folds at symmetrical corners as you would with any basic box and tape it together. Don’t make it hard; start at about 5 min and watch the basic box making on youtube for those that have not done this before.
Put some silver braid on the box front, and using ScorTape attach the sleigh sides to the box. To get the bar, find a small round cardboard tube and using ScorTape, cover that tubing with FAV Shimmer, Pure Silver, 81 lb text weight, leaving enough flap on the ends to clip and fold over with layers of tape.
It is important to use text weight paper for that small of a tube; cover weight is too heavy and doesn’t roll well. Use whatever text weight paper you have that goes with your design.
To attach it, I used ScorTape with some Cosmic Shimmer Acrylic Glue and referring to the photos, use push pins, to hold it to dry. I liked them so well I left them and used them to hold the reins. Find some premade Poinsettias and ScorTape/glue them to the sides.
Onto the reindeer, also hand cut, which is FAV Shimmer, Pure Silver, 92 lb cover, covered in the red foiling. Looking closely at your antlers, you will see the curlicues of red under the red stripes. Notice that there are cut out sections on the design.
They were hard to cut out, so I generalized that cutting pattern on the Pure Silver paper after foiling. Use one cut out reindeer to trace a pattern for the mirror image side. Since the cardboard base and the cutout paper might not match, use Pure Silver, either weight, on the antler section before adhering the foiled paper.
Sometimes the design works better if you go with the flow of what is easy to make. I used lots of Cosmic Glue, small gold twine, and more silver braid to outline and define Rudolf. Red Glitter tape, 1/4″ wide was used to cover the exposed cardboard edges, with extra glue added. 1/4″ red velvet ribbon was cut diagonally for eyes.
The gold twine will cover any exposed edges when glued onto the reindeer. Follow the photos or add your own touches, it will look good either way. The tricky part was getting Rudolf to stand up.

Using a sheet of 8.5″x11″, Curious Skin, Emerald, 100 lb cover, add a 5.5″ square piece, ScorTaped under the big Sheet of Emerald, as an extension. Referring to the photos, add the ScorTape for the snow.
The ScorTape is 1.5″ wide and is placed 1.5″ from the edges of the larger Emerald, and 1″ in from the edges of the extension piece of Emerald. Improvise to suit your design tastes. In order to get Rudolf to stand up, 3 painter stir. sticks are ScorTaped to the bottom of the paper. Basically, the paper is as long as the painter stir sticks, in this case, 15.5″. You could go longer, just not shorter.
If your sticks are too short put the short is under the back of the sleigh. My sticks were a little warped, so I added a 1/8″ piece of leftover anything (mine was a base roll from tape about 1/8″ and wide diameter ) to even out the back area.
It won’t show in the end. Turn over the paper, and using the tiniest finishing nails you can find (mine are about 1/2″ long and pin-thin, nail them through the sticks where the hooves are going to touch the paper. I used needle nose pliers to finish pushing them through.
Place those nails so each of the 3 hooves has 2 nails each. You won’t notice if any come through. Use more glue to fill any gaps between the paper and the hooves, and brace Rudolf on each side until the glue dries; for me, that was overnight. To brace it, I used the hammer, the nail bin, and a paper shim, if needed.
When the glue is dry, pull off the ScorTape backing, add more ScorTape to the bottom of the sleigh and center it behind Rudolf, making sure you have left room for Rudolf. Christmas bulbs were added to brace Rudolf’s legs; it worked.
I left it overnight again, using blue masking tape to gently hold them in place against Rudolf and added a little more glue in any gaps. In hindsight, I wish I had left the bulbs stuck to the ScorTape and just squeezed glue around the base.
When I pulled them up, to add glue under the bulbs, they slid in the extra glue, so leave them on the ScorTape. After Rudolf is stable, add the snow, enough will stick to the ScorTape.
The silver braided reins will add more stability. In order to repurpose the silver braid later, I used the full 6 feet of the braid and wrapped each end around a push pin. Make a little loop on the end and wrap the extra piece on the end around the pins. Without cutting the braid, wrap some around Rudolf for a collar, make a double bow and spread the loops.
Add some pine cones and other embellishments and you are done. The paper is everything in this project; quality is all. All the papers are double-sided in color and heavyweight, giving them the strength to hold up to multiple passes in the laser and foiling machine, and allowing the use of a single piece of paper for the sleigh sides and bottom.
The only text weight is the sleigh bar; note how smooth it rolls. All are laser printable with a crispness of print that makes the design crystal clear: note the fine holographic silver foiled lines around the sleigh outline. Also note the ability to glue fine twine around the reindeer without any bleed out from the glue into the paper fibers, a little Un-du allowed for the cleanup of any excess glue without marring the paper.
Buy the best paper you can so your projects are successful. Take a close look at how well they all hand cut, scored and folded. It is a bonus that those papers are earth friendly. Enjoy!
The paper products used in this craft are the following:
- Stardream Metallics, Red Jupiter, 105 lb cover
- FAV Shimmer, Pure Silver, 92 lb cover
- FAV Shimmer, Pure Silver, 81 lb text
- Curious Skin, Emerald, 100 lb cover
Craft products used in this project:
- 1/4″ thick cardboard from packing box
- Foils, PulsarProFX.com: Holographic Gold and Silver, Light Green, White, and Red
- SM 330 laminator for foiling
- Silver braided trim
- Cosmic Shimmer Acrylic Glue
- ScorTape, 1.5″ and 1/4″
- 1/4″ red velvet ribbon for the eyes, cut diagonally
- 1/4″ red glitter ribbon for Rudolf’s cardboard edges
- Tiny glass bling for outlines Rudolf and his red nose
- Red and Silver Christmas bulbs
- Buffalo Snow Flakes, iridescent