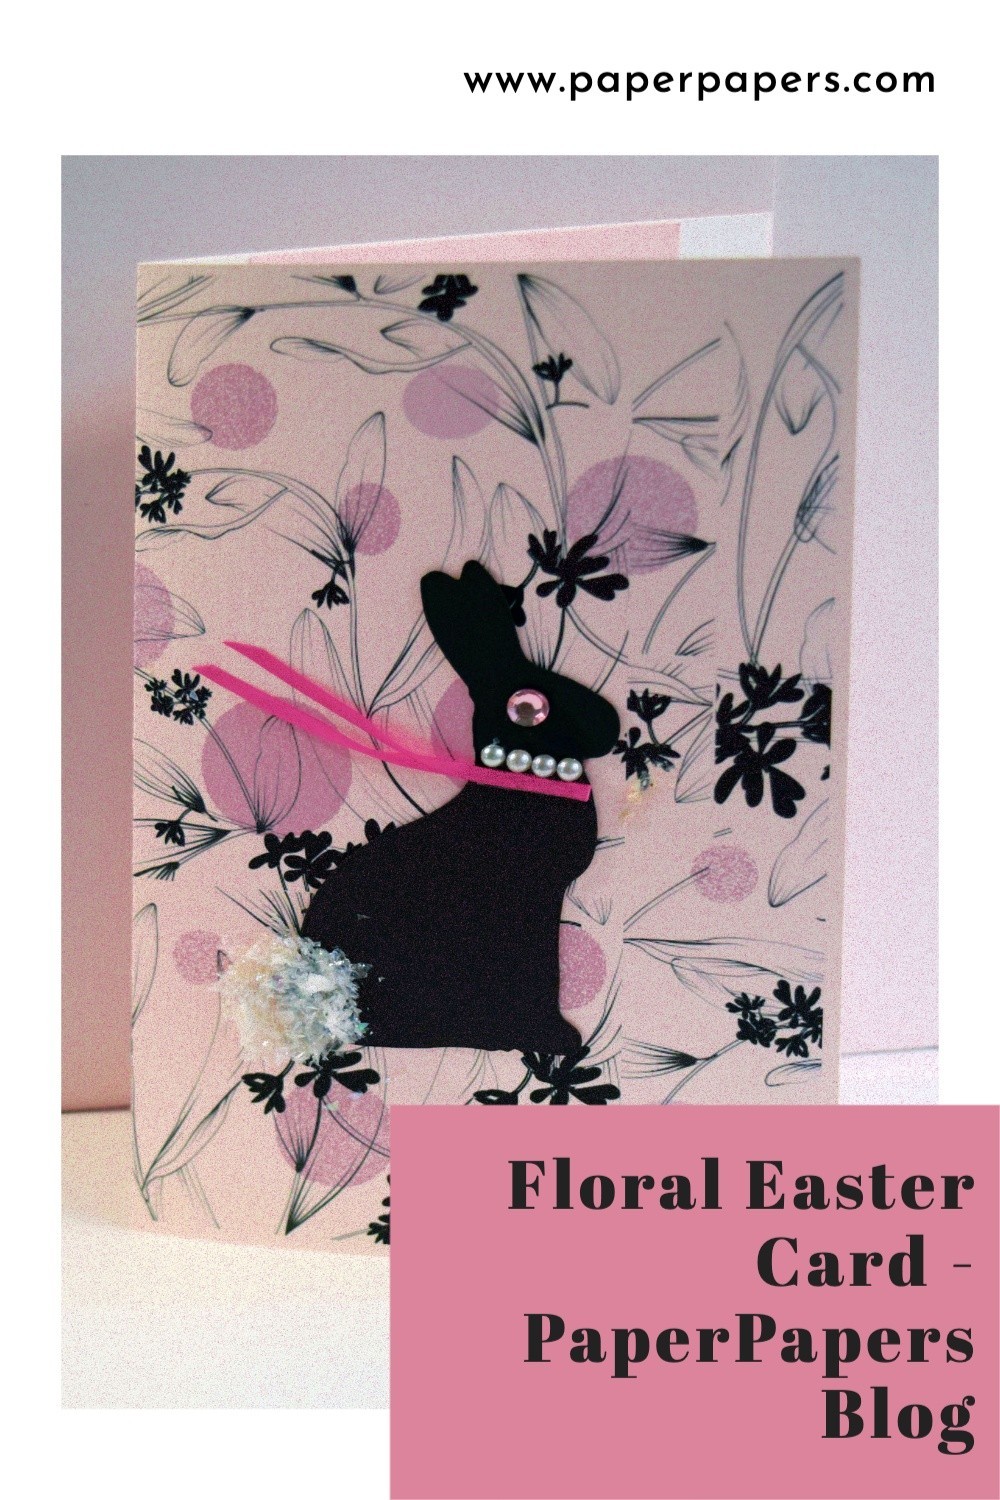
Floral Easter Card

Easter is the perfect time to share the love with your friends and family! This Floral Easter Card is super easy and fun to make! Check out all the instructions below.
The Easter Bunny from Tim Holtz is a classic and I always die-cut it in Curious Skin, Mocha, 100lb cover. I love the smooth hard finish that is a deeply saturated matte color, spread perfectly evenly across the paper. The FAV Shimmer, Hinted Gold, A9 envelope, 5.75″ x 8.75″, accepts a full sheet of 8.5″ x 11″ folded in half. The final card is 5.5″ x 8.5″. All papers used were 8.5″ x 11″.
I got the black and white foliage design from the artist Vextok. Make sure to check out all their designs on freepik. They have tons of designs and background images free and for purchase.

Floral Easter Card Instructions:
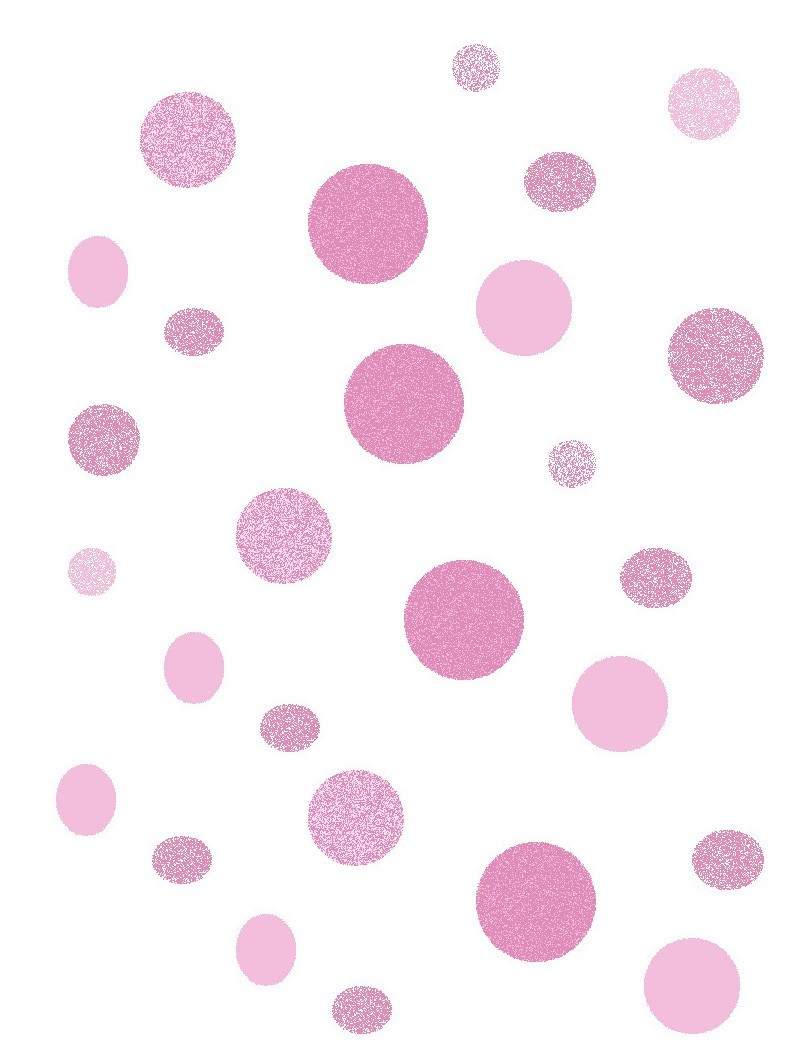
- Using your Arturo, Pale Pink, 96lb cover, print it twice. Print the pink dots first and then run the paper through the printer again for the foliage design. I used my inkjet printer and let it dry well between printings. I printed 4, then wandered off and did something else, maybe an hour, and came back to print the foliage. Let it dry.
- I spray all my printed products with spray acrylic, misting it over the top a few times. Let it dry. Even so, I would recommend putting a blank white sheet of copy paper under the paper when you score it if you put the design face down. The paper is heavy and you push the printed parts into the scoring tool. I scratched one, the laser-printed one, which will be fine for another project. I should have sprayed the paper a few more times. The second time I scored it face up using the ink-jet printed design and used a piece of copy paper on the left side to hold it down to score it. It did not smear.
- Cut a sheet of FAV Shimmer, Hinted Gold, 92lb cover to 5.5″ x 8.5″. Add 1/2″ ScorTape at the top and the bottom.
- I did the inside first, so the decorative parts on the front wouldn’t get handled a lot; I handle my projects a lot. This step centers the message on a larger sheet of paper and tapes it inside the card. Using a sheet of Extract Shell, 80lb text, print the inside message. You will get 2 messages, so cut them to 3.75″ x 8.5″. Put 1/2″ ScorTape along the long sides of one, and a tiny little 1/2″ piece of tape at the top. Center that little piece of tape so you can line it up on the Hinted Gold at the top. Center the paper at the top and put your hand on the bottom; pull the backing on that little tab at the top and push it down. Now, pull the backing on the long strips of the on the sides, and being sure the top is lined up, push it down.
- Now that the message is taped onto the Hinted Gold, pull the top tape and line it up along the crease. After pushing it down, pull the bottom tape backing and push it down.

- Now do the front; this is especially fun. Using your Tim Holtz Alterations, Easter Elements, cut your bunny from Curious Skin, 100lb cover. It is not Easter without the chocolate bunny. Using 1/2″ ScorTape place it around the back of the bunny and put it on the card front. Wherever you like is the right place. Mine 1 7/8″ from the bottom and the nose is 1 5/8″ from the right.
- Decorate your bunny, for her big day. Using Cosmic Shimmer Acrylic Glue, add 4 pearls around her neck and let it sit a minute. Cut some 1/8″ double-sided pink ribbon, about 8″ long; about 3.5″ after having the ends angled and folded. Use the 1/8″ ScorTape and put about 5/8″ between the folded ribbon; put a similar piece on the back and attach it to the bunny’s neck, under the pearl collar. Use some glue to trail it out to look like it is blowing in the wind, and a tiny dot of glue on each end is applied with a toothpick.

- For the sparkling eye, glue down a 1/4″ half round pink rhinestone (your choice).
- The great little bunny tail is a 1″ circle of Silhouette Double-Sided Adhesive paper covered with Buffalo Snow Flakes. But the Adhesive paper and pull one side of the tape. Add some glue and push it down. Pull the top piece of tape and using a toothpick add a very large amount of glue, staying a little away from the edges of the circle. Sprinkle the wet glue with a large amount of Buffalo Snow Flakes, and push them into the glue. Tap the card to get rid of the excess and add another large layer of glue and push in more flakes. Push it down and into a circle shape. Let it dry overnight.
Enjoy making this Floral Easter Card!
Materials:
- FAV Shimmer
- Hinted Gold, 92lb cover
- Hinted Gold, A9 envelope
- Arturo
- Pale Pink, 96lb cover
- Extract
- Shell, 80lb text
- Curious Skin
- Mocha, 100lb cover (Make sure to check out Brown Cardstock Paper as a replacement)
- Tim Holtz Alterations, Easter Elements
- Spray Acrylic Sealer
- ScorTape, 1/8″ & 1/2″
- Cosmic Shimmer Acrylic Glue
- Offray polyester ribbon, 1/8″, medium dark pink (your choice)
- Jolee’s Bling Stickers, Pearl Borders
- 1/4″ half round pink rhinestone (your choice)
- Buffalo Snowflakes