
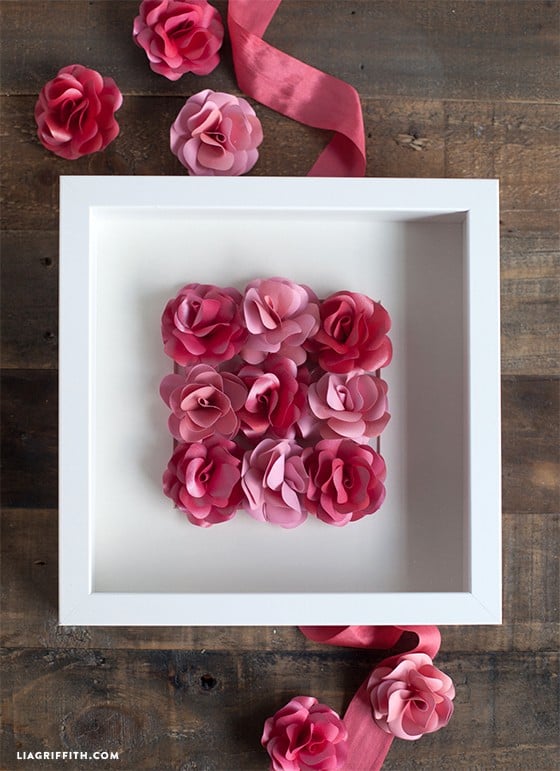
Paper Rose Wall Art

Are you looking for a creative and affordable way to brighten up your walls? Paper rose wall art is the perfect way to add creativity and color to any room. In just a few hours, you can change a plain wall into a stunning display of handcrafted roses. Whether you are decorating a bedroom or a party backdrop, paper rose wall art adds a touch of charm without breaking the bank.
Why Everyone Loves Paper Rose Wall Art
Paper rose wall art is not just about pretty flowers. It’s about creating a vibe. These stunning paper blooms can turn a blank wall into a work of art. Besides being gorgeous, paper rose wall art is super versatile. You can make them colorful, romantic, bold, or minimalistic, with small clusters of roses for subtle looks, or go big with a full-blown flower wall.
Best of all, paper roses never wilt or lose their charm.
Supplies You Will Need
Before you start, gather these simple supplies
- Colored cardstock or crepe paper
- Scissors
- Pencil
- Hot glue gun
- A round object (like a glass) to trace circles
- Wall-safe adhesives
- Templates for petals (optional)
Step-by-Step Guide to Making Paper Roses
Once you have everything ready, clear a space to work in, and let’s start crafting.
Choose your Paper.
Before you start cutting, decide on the look you want. Do you want a big ombre effect with different shades of one color? A rainbow garden? Or classic white roses? Pick a color palette that fits your room’s vibe. The beauty of paper rose wall art is that you can make it in any color you dream of.
If you use cardstock, your roses will have a sturdy, bold appearance. Crepe paper, on the other hand, offers a softer, more delicate feel.
Print and Cut Out Petal Templates.
Find a simple rose template online or sketch one yourself. For sketching, use a round object like a cup or small bowl to trace circles onto the paper. For each rose, you will need about 5 to 6 small petals, 7 to 8 medium petals, and 9 to 10 large petals.
If you are using a template, cut it out from stiff paper, then trace it onto colored cardstock. Carefully cut out all your petals.
Shape the Petals
To make your petals look more realistic, curl the edges by wrapping them around a pencil or using your fingers to bend them backward.
Start Rolling
Start rolling the paper inward tightly from the outermost end of your spiral. This will form the center of your rose. Keep the bottom edge aligned as you roll to maintain a neat flower form.
Once you have rolled the entire spiral, gently release it a little bit to let the rose “bloom”. It will naturally loosen up and take on a lovely, full shape.
Secure With Glue
Add hot glue to the center and press the rolled paper onto it. Then, one by one, wrap the remaining small petals around the center, slightly overlapping them, and glue as you go. Once your small petals are attached, move on to medium ones. Add the large petals, spacing them out a bit to create that full, blooming look.
Repeat and Vary
Make several more roses following the same steps. Vary the size of your circle and spirals to create different rose sizes.
Plan your Wall Layout
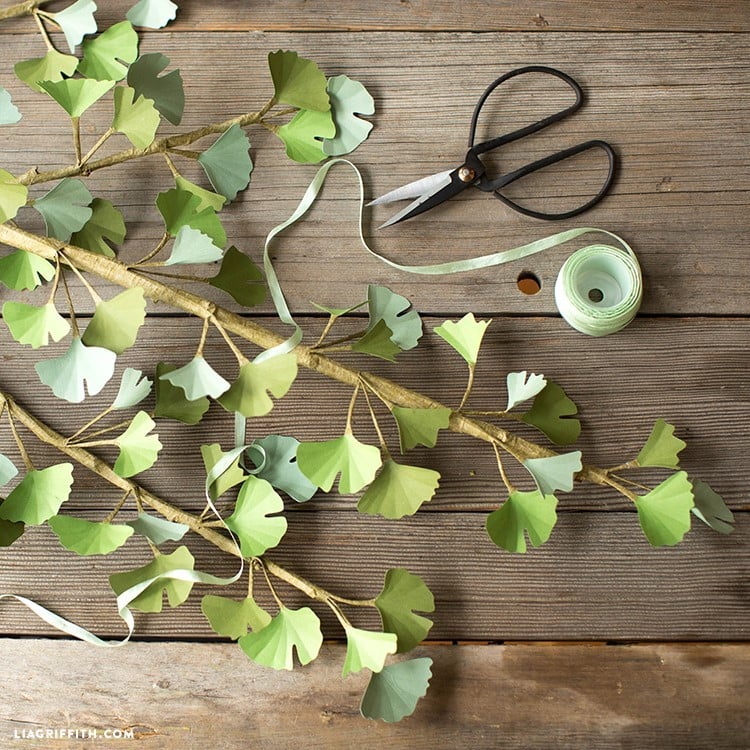
Before gluing anything to the wall or a backing board, lay your roses on a flat surface to plan your design. You can arrange them in a heart shape or create a frame. Add a few paper leaves or vines to make your design eye-catching.
Assemble your Wall Art
When you are happy with the design, gently stick each rose to the wall with double-sided tape or adhesive dots. A small removable wall hook behind the flower can offer extra support for heavier roses.
Conclusion
Besides being stunning and budget-friendly, creating paper rose wall art is a wonderfully therapeutic activity. Crafting allows you to slow down. It is also an amazing way to personalize your space. You can switch up colors and styles depending on the season. And the best part is your art will never wilt. Are you looking for a perfect baby pink color for your rose wall art? Find every color and finish at Paperpapers. Discover the best paper solutions to meet your needs, from impactful bold hues to durable cardstock.


One Comment