Rosette Paper Flower – Quick and Easy Video Tutorial

Easy to do, video tutorial on how to make these adorable rosette paper flower. They are so cute ?? -no template required.
This project idea came about two years ago when I had to make 60 rosettes for a client who was getting ready to celebrate her daughter’s sweet 16.
She was going to prepare little favor bags and use the rosette to tie them closed. They turned out so lovely, and I wanted to share with all of you how to create your own cute little rosette.
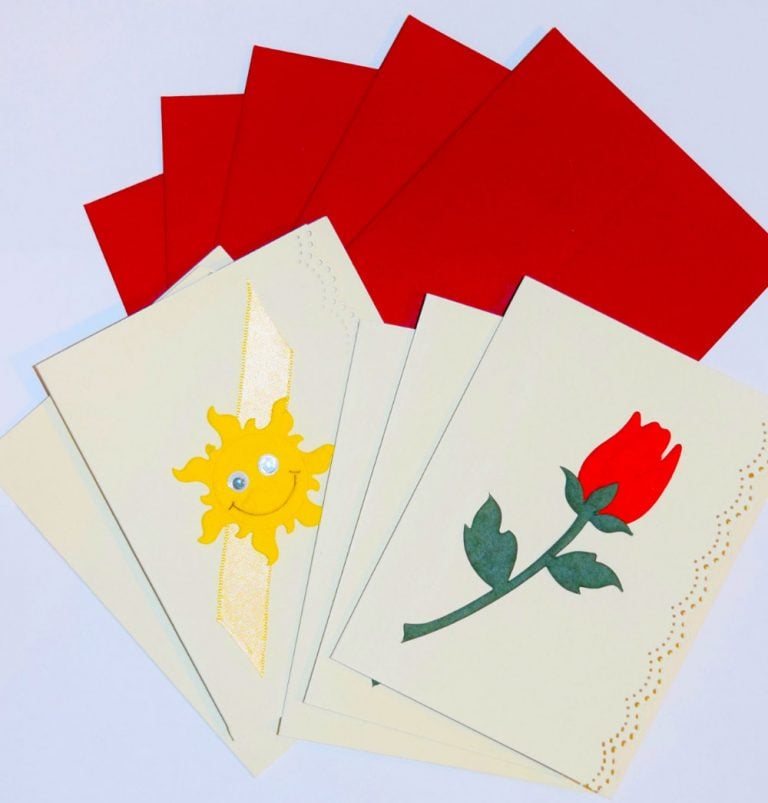
Quite often, I’m asked what kind of paper do I use when I make my paper flowers. Typically for large flowers, I like to use 65 lb weight of cardstock. However, flowers such as these little roses or other extra small flower projects, I prefer to use text weight paper.
Meet this lovely paper. Today I am using a beautiful text weight paper from PaperPapers.com called Red Satin, and it is available as a pack of 25, find this item here. This is a gorgeous shimmery red.


Let’s get started with Rosette Paper Flower
Gather Supplies:
Paper – I’m going to be using text weight paper, 8.5×11 Red Satin
Pencil, Scissors, Glue gun


DRAW / CUT / TWIST
Use your pencil to lightly draw a spiral, cut out the spiral while following the outline. (do not worry about following the lines perfectly, this turns out lovely, even when using our free-hand spiral.)
Twist tightly and glue the base. (be sure to watch the video for better explanation)
Add your twist tie, and wrap up your little favor bags.
Highly Recommended
Click to View Karina’s 10 minute
Full Version Tutorial
for a thorough walkthrough of each step.

Thank you to the talents of Karina, we can offer this FREE, easy DIY tutorial. Learn more by visiting her sites:
Template website www.arielleelisedesigns.com
Also, visit her Etsy shop
That’s a Wrap!