How to Make A Merry Paper Christmas Tree
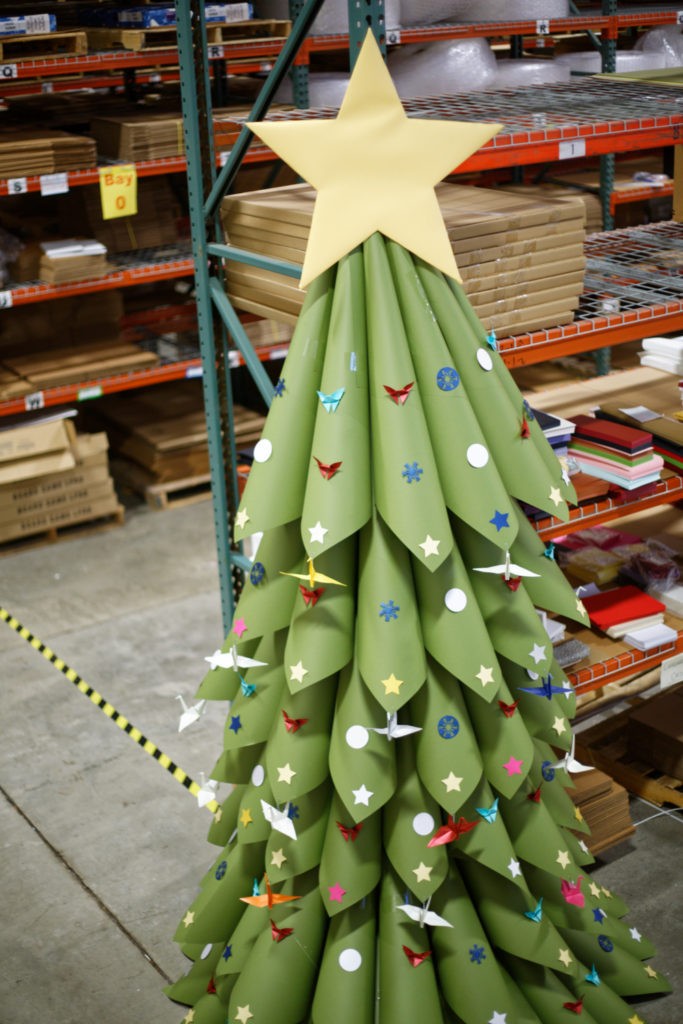
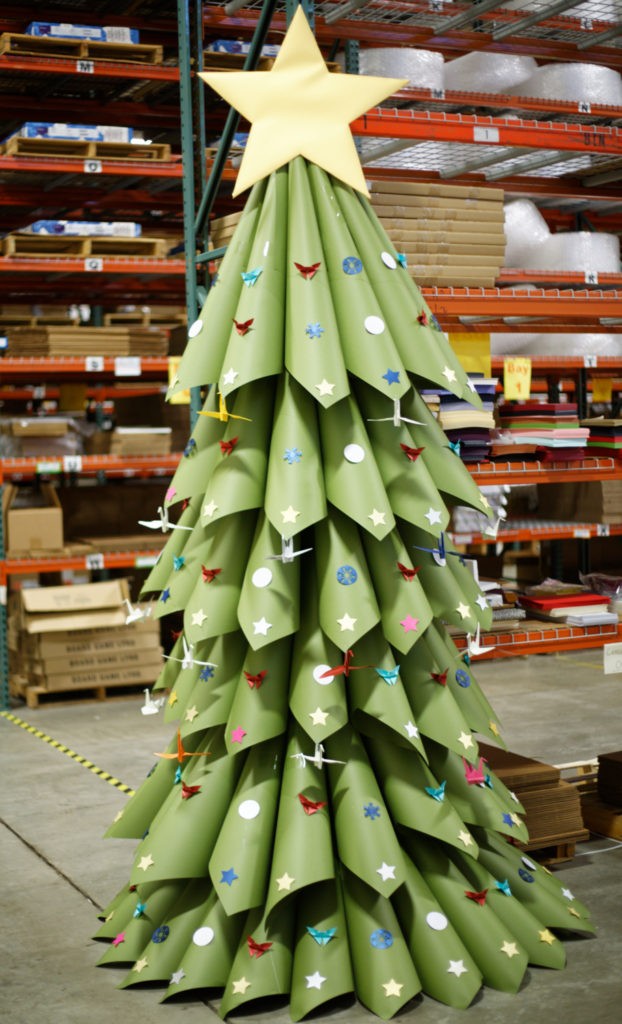
While dreaming of Christmas fun, I started thinking about putting up our Christmas tree. Since my daily joy is paper, I couldn’t escape the visions of a tall, green paper tree. I kicked around some ideas with our paper papers team and we came up with this magnificent creation.
I have no artistic ability, yet when filled with the joy of Christmas, surrounded by an excellent team and beautiful paper, it came together nicely.
This was fun and easy, especially when using some of my favorite papers. For the bulk of the greenery, I used gumdrop green 65lb cover, which rolled nicely into these lovely limbs.
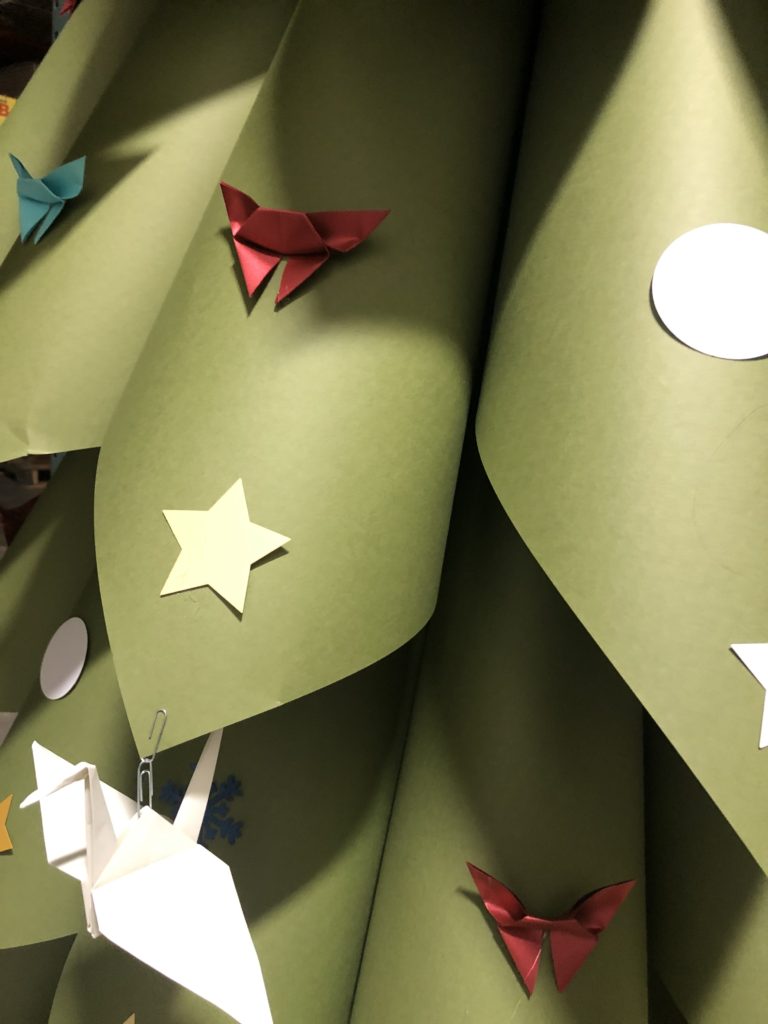
Once the greenery was assembled, I enjoyed decorating our beautiful paper tree with various origami and paper cut-outs. The decorations I used were made from previous paper projects shown here on our blog.
Learn how you can make your origami butterfly and paper crane by jumping to our project pages.
The final joy of this project was topping the tree with our big golden star which I made from Gold Stardream Metallic paper.
This overall project was quite simple and enjoyable. Perfect project for any age or experience level. You can make this tree into a classic tabletop size by using letter size papers or go for the larger version and make it a big event.
How to Make A Merry Paper Christmas Tree
However you proceed, we wish upon you the love and joy of this season. Merry Christmas!
Get paper creative! Make your own can be enjoyed alone or with a group! Build your paper tree today! Share you paper tree with us or tag us on Instagram @paperpaperscom
Mr. PaperPapers
1. Build the Tree
- Make the limbs: I rolled large sheets of paper at an angle to produce a cone with a cornered tip. (60 sheets of 26×40 were used to create our large tree’s greenery) The paper we used: French paper gumdrop green cover
- Base: I used the corner of our warehouse racking for the center base of the tree. Depending upon your design, a soft, wood board or pole would also work.
- I made my way up the base, layering the different limbs to make a tree. (I placed limbs working from bottom to top with more on the bottom and reducing the volume as I worked upward.)
- I adhered to the limbs using a staple gun. (If you don’t have a staple gun, or if you have little ones helping with your project, tape or some other adhesive will work well for you.)
Make sure to click the picture or here fhttps://youtu.be/aTkN_YUT4wwor the Youtube Video! Like and subscribe for more content!
2. Decorate The Tree
I decorated the tree using origami figures and other paper cutouts we had from previous projects. (I hot glued and stapled to add the ornaments).
All of the projects that helped make this:
3. Make The Star
I cut out a star using cardboard. I then punched holes and used string or zip tie to make a back loop for easy placement on the tree. I then covered the cardboard star using Stardream Gold Metallic 105# cover paper. My last task was to place the star atop the tree!
4. Materials
- Poptone:
- Gumdrop Green 65lb Cover – Leaves of the tree
- Stardream Metallic:
- Gold 105lb Cover – Star of the Tree
- Paper Cranes
- Winter Paper Chandelier
- Paper Origami Butterfly


