

How to make Paper Pinwheel

Spring is in the air! And there’s nothing better to celebrate this than with a little fun and decoration that anyone in the family can join in on.
Inspired by the gentle breezes that blow through the new grass blades and budding flowers that this season brings, I decided to celebrate the season by making my own spin off (pun intended!) of the classic paper pinwheel.

These paper pinwheels are really easy to create. It actually took me less than 10 minutes to create one paper pinwheel from start to finish!
I was very inspired by One Little Project while creating my paper pinwheel project. They have a simple and easy way to create a paper pinwheel.
How to Make
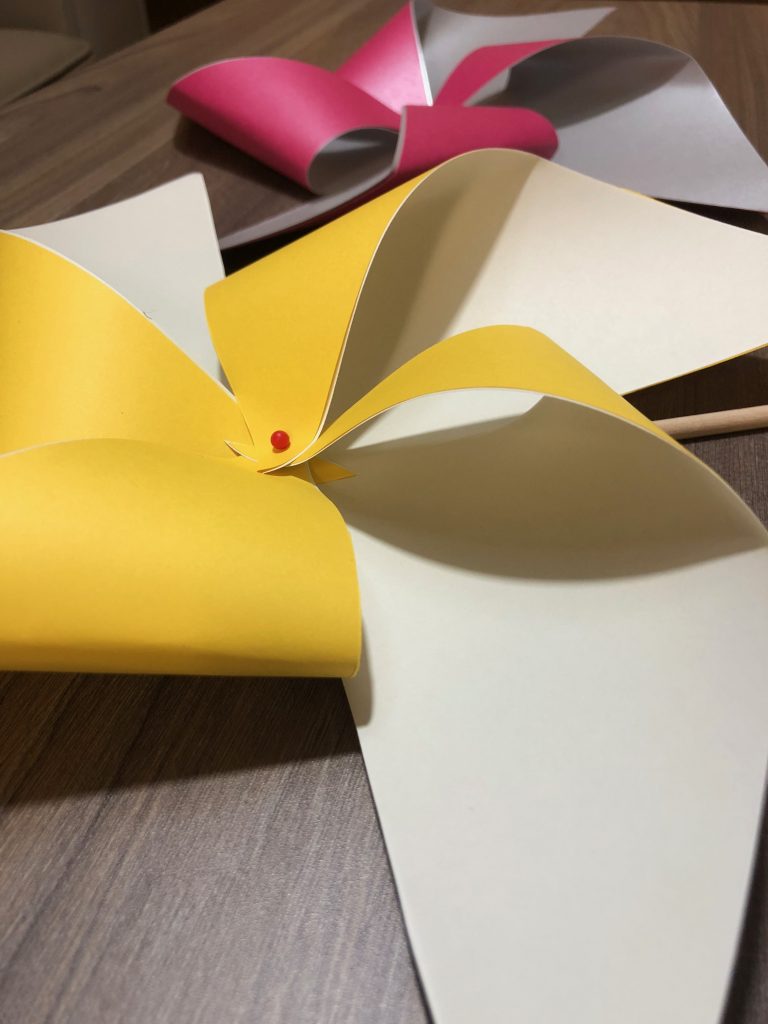
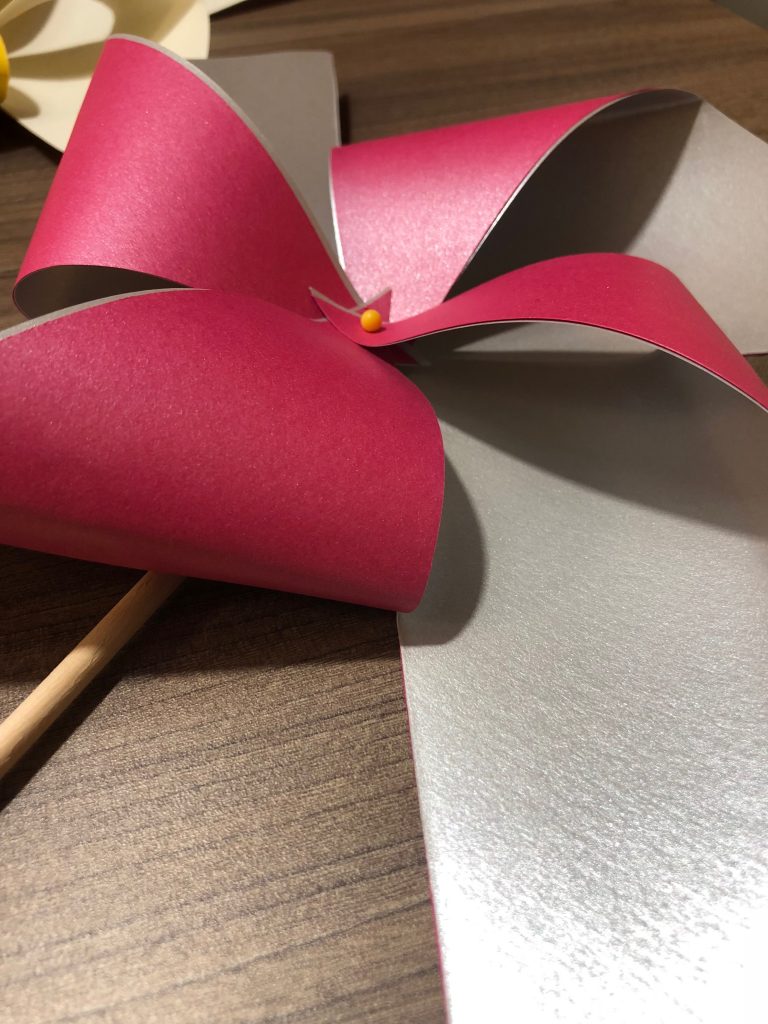
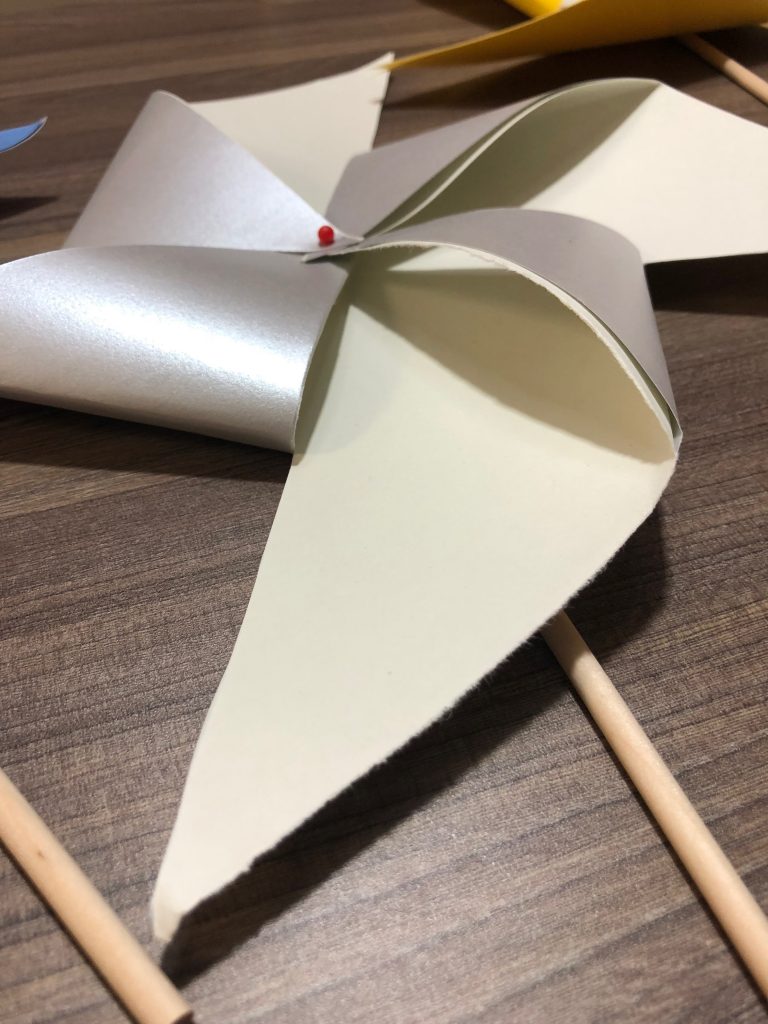
My paper pinwheels are made with very simple materials and tools. All I used to make was a ball head pin, a wooden stick, and two pieces of paper that I hole-punched. Those hole punches marked where the tips of the papers were going to come together in the middle to create the final shape.
Now, you can use any paper of your choice, but I would recommend using a text weight paper because it’s both easier to fold, and easier to move. Text weight paper tends to them spin much better when wind catches it. You can find more selections of any type of paper here.
Materials Used.
- Stardream Metallic:
- Azalea Text
- Vista Blue
- Poptone:
- Yellow Lemon Drop Text
- FAV Shimmer:
- Silver Text
The best part about Paper Pinwheels is that you can choose your favorite colors, so check out the many shades of paper that we have using our Shop Color.
Enjoy the fun that this craft can bring and Happy Spring!


One Comment