
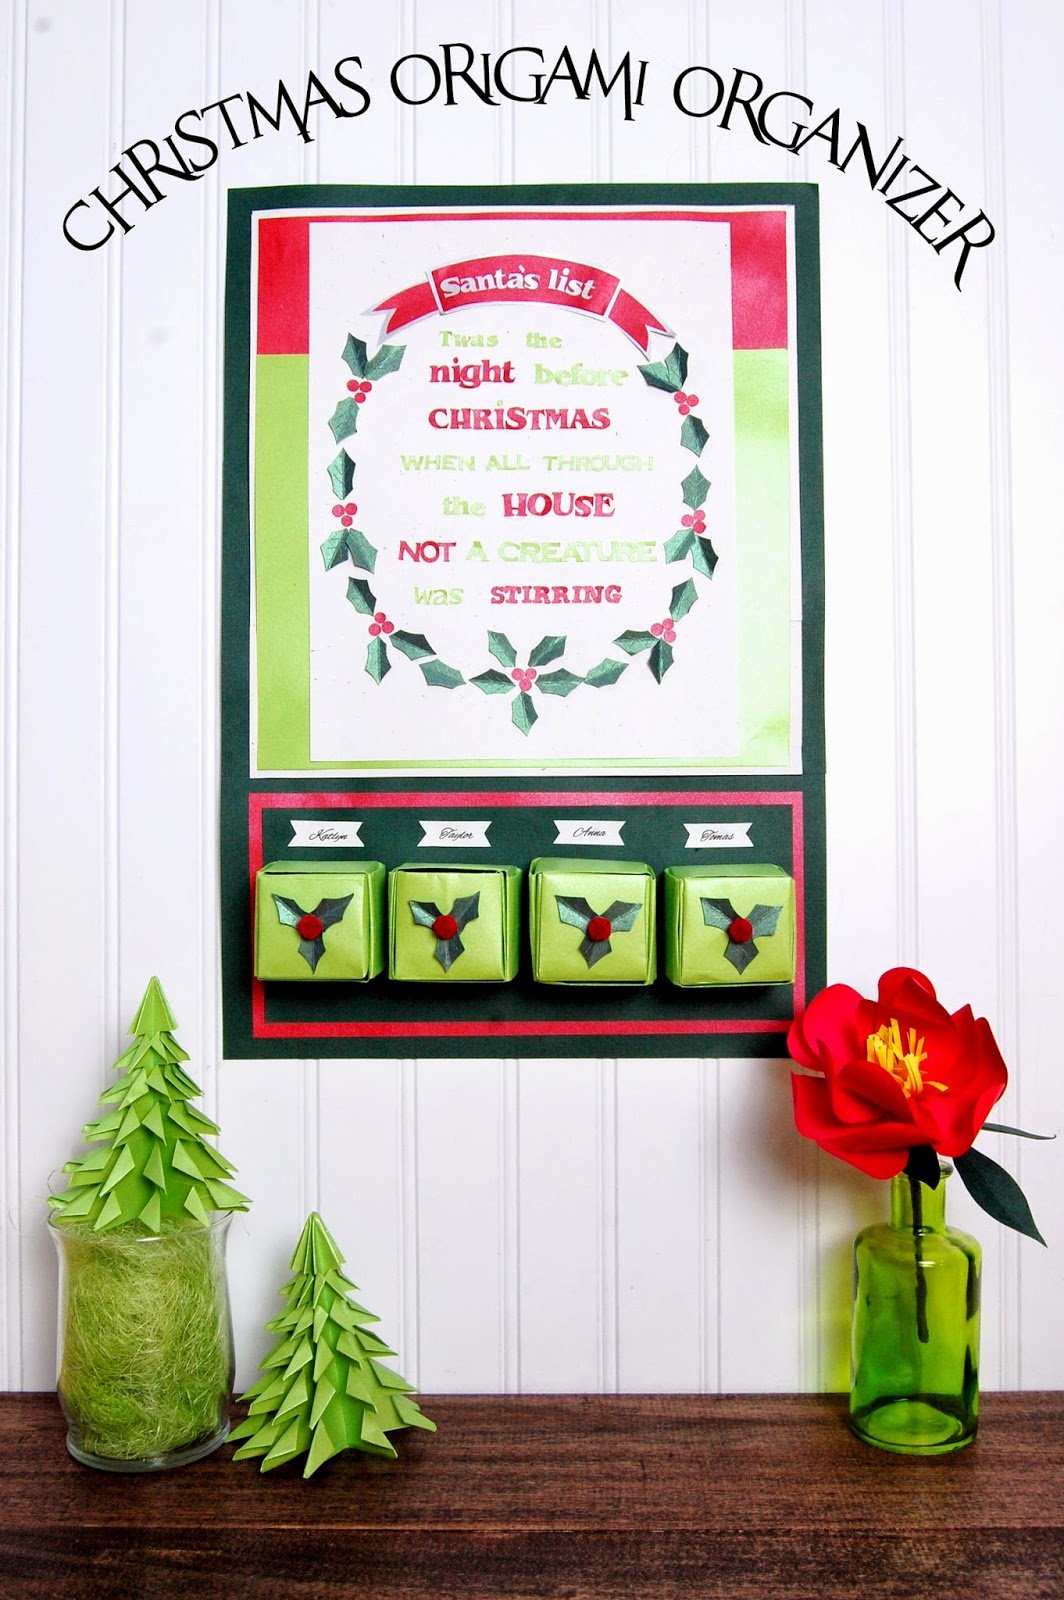
Christmas Origami Organizer
To start on this origami box organizer I used:

- Light Green Text weight paper
- Jupiter Red Metallic paper
- Shine Silver Metallic
- Green Card Stock
- White Paper
- Glue
- Bells -flocked from Michaels
Step by step – How to Make the Origami Boxes
- Use a 8.5 by 11 inch green paper and fold to form a triangle and cut off the excess like below to create a exact square.

- Open the paper and fold the paper again using opposite corners,when opened it should look like below.

- Open again and fold lengthwise and breadth wise into equal half’s and open the paper.

- Bring the four corners to the center to create a square.

- Mark both side of the folded square into 3 equal parts and fold lengthwise on marks to get the following folded lines. You will have now divided the square into equal thirds.
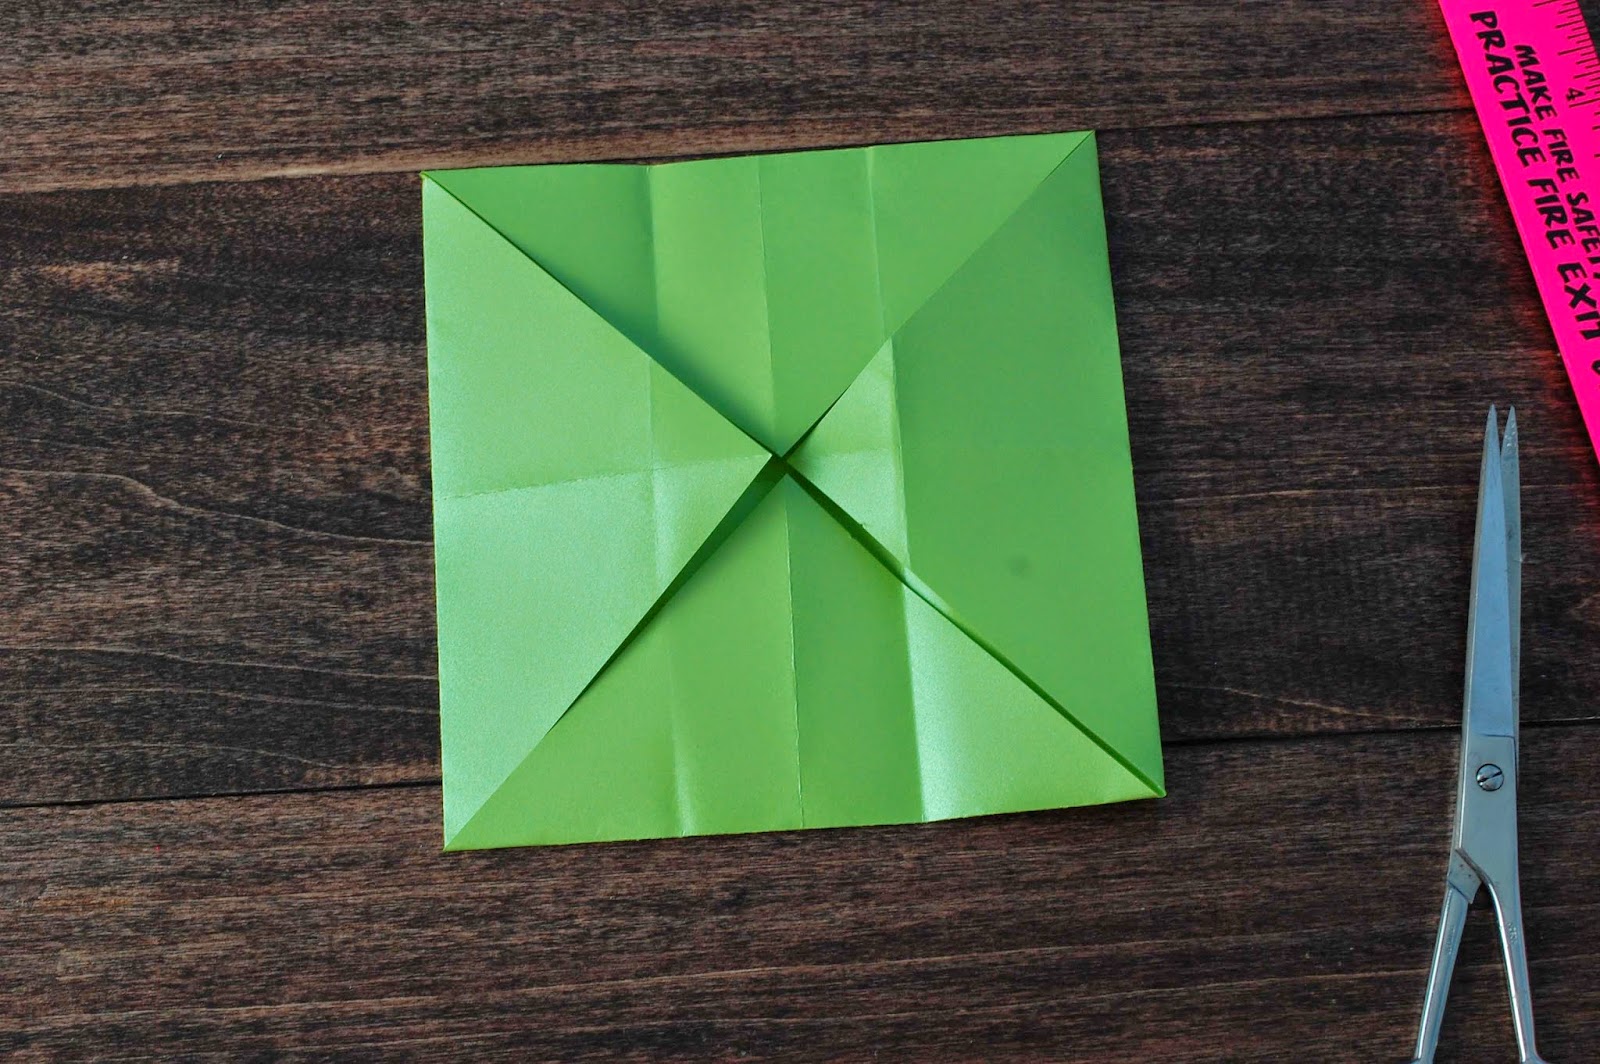
- Turn to the other side and fold again into thirds.Unfold and the paper should looks like below.
In the picture below the center square is the base of the box to give you an idea…

- Flip the paper and fold down the four corner like below.(Valley fold.)

- Flip paper over and gently fold down this flap down to cross over each other.(This is the difficult part once you figured this then it’s easy.)

- Flap is folded down to overlap on both sides.

- Fold the open flap over to lock down the side to make a side of the box.

- Open the other flap and repeat above steps to form the last side of the box,


To make the drawers,cut of 1/4 inch off from the folded rectangle paper (step 1) that you started with to create another box using steps above.Slide in the box into the larger box.

Using the holly template and cut 3 leaves from the green card stock for the holly leaves,

With a sharp scissor mark the center veils and side veins.Fold down the middle one.Stick to the box adding a bell for the knob!

Create the base for the Organizer:

Use 3 green Cardstock layers to form the base sticking with glue to form a thick base.
Layer a Jupiter Red Stip and one light Green paper for the top base showing the green base. Slide white paper underneath to create a thin border.
I used my Pazzles cutter to create the letters of the Poem the “The Night Before Christmas”. pdf file for wording.

Use the berry template and holly template to form a wreath around it.
For the bottom again layer a moss green paper to fit the 4 boxes.Slide a Jupiter Red paper to show as a this border.Stick all to the base.
Center the 4 boxes.Print your names in white paper and stick on back to label the boxes. After xmas use to store new year goals or store knick knacks.Happy Holidays!
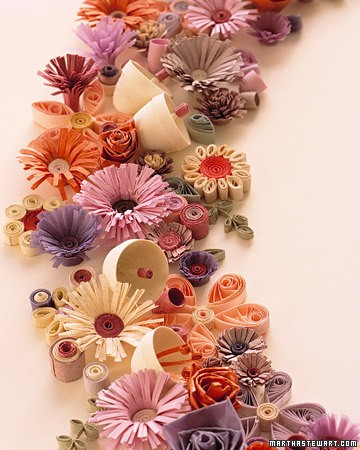
Maria Noble is the Author of the book How to Make 100 Paper Flowers now on Amazon.For Maria Noble, making flowers is a lifelong passion that began as a child watching her mother and aunt run a floral business.
Using innovative methods, they made beautiful flowers from fabric, paper, and other materials for weddings and other special events. Maria started her own business ten years ago, incorporating her inherited skills and exploring ideas of her own to create new, distinctive flowers.
The business has flourished, and now her exquisite flowers are sought out by consumers and businesses nationwide, including leading event planners in New York and Los Angeles.
Her flowers have been featured in various magazines and on popular websites. Find her online at stjudescreations and on her blog at www.stjudescreations.blogspot.com


You are good. You make it look easy. You are organized and have great style.